VRM
Introduction
VRM Model assists developers to create content with actual facial expressions. (more)
Supported Platform and devices
| Platform | Headset | Supported | Plugin Version | |
| PC | PC Streaming | Focus 3/XR Elite/Focus Vision | V | 2.0.0 and above |
| Pure PC | Vive Cosmos | X | ||
| Vive Pro series | V | 2.0.0 and above | ||
| AIO | Focus 3/XR Elite/Focus Vision | V | 2.0.0 and above | |
Sample Project
Full sample project is available on GitHub.
UEViveOpenXRVRMSample Sample
ViveOpenXR assets for VRM Model
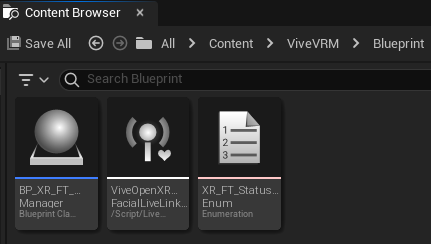
Inside ViveVRM > Blueprint, includes a Manager Actor, LiveLinkPreset and Enumeration.
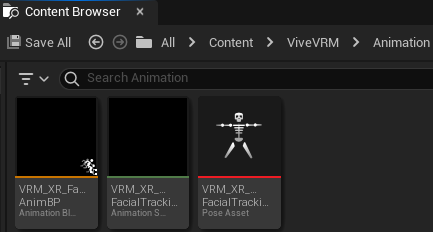
Inside ViveVRM > Animation, includes a Sequence, Pose Asset and Animation Blueprint.
Enable Plugins
- Edit > Plugins > Search for OpenXR and ViveOpenXR, and make sure they are enabled.
- Edit > Plugins > Built-in > Virtual Reality > OpenXREyeTracker, enable Eye tracker. Note that the " SteamVR " and " OculusVR " plugin must be disabled for OpenXR to work. Restart the engine for the changes to take effect.
Integrate VIVE OpenXR Facial Tracking with VRM Model
- Make sure the ViveOpenXR plugin is already installed, along with the OpenXREyeTracker enabled.
- Select Edit > Project Settings > Plugins > Vive OpenXR > Enable Facial Tracking under Facial Tracking to enable OpenXR Facial Tracking extension.
-
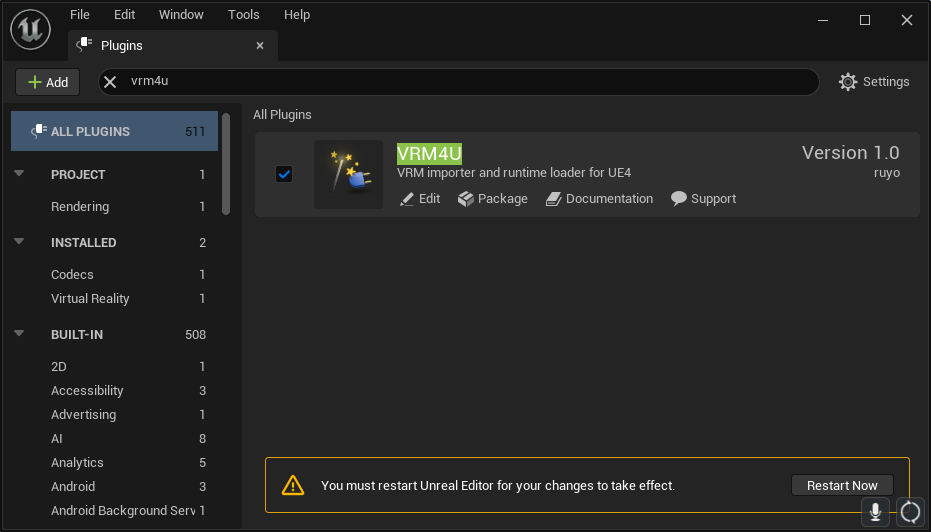
Download VRM4U plugin and put it in your project > Plugins.
-
Enable the plugin in your project > Plugins > PROJECT > VRM4U and restart the unreal project.
-
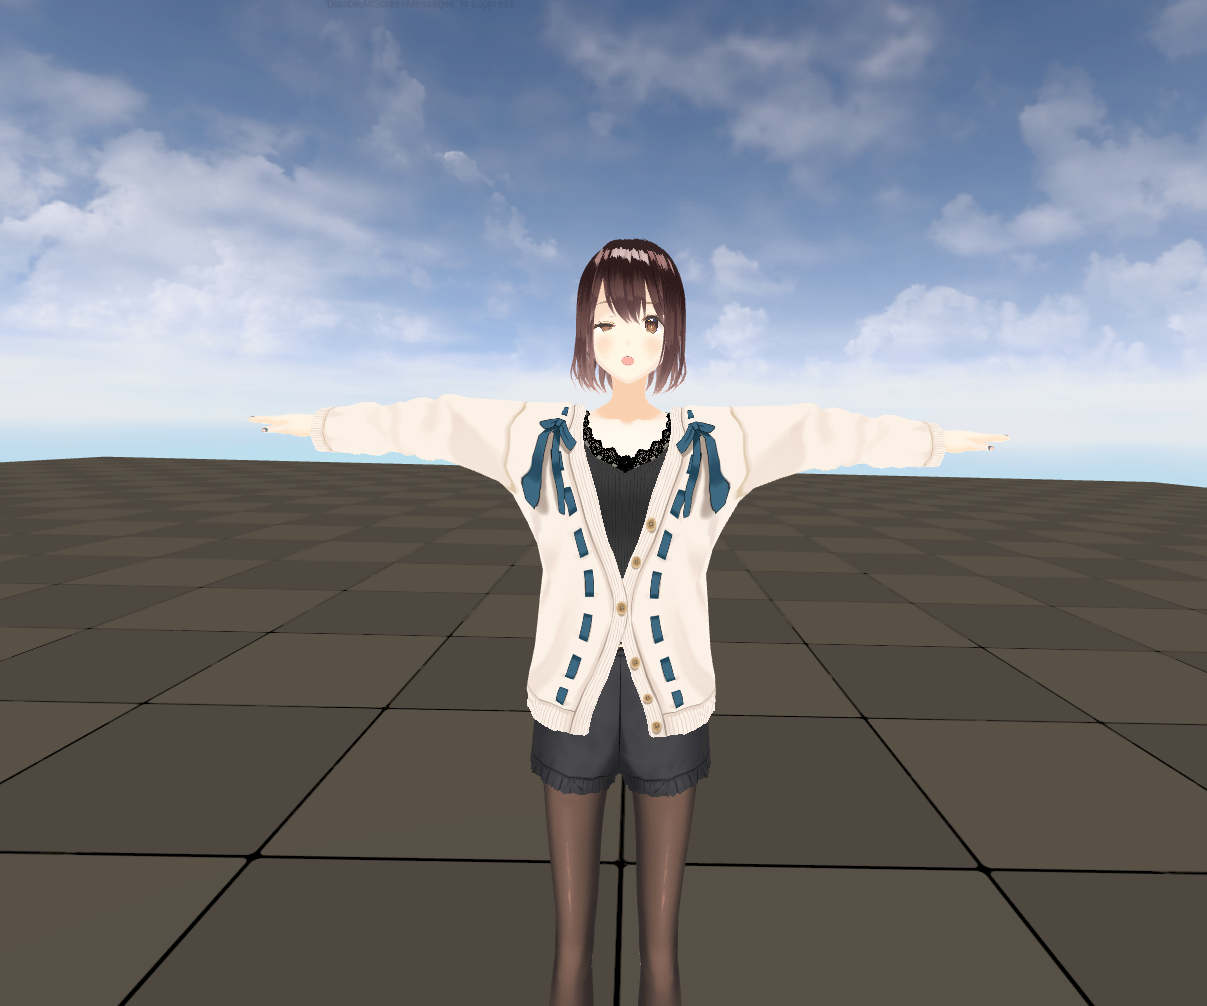
Import your VRM Model via drag the *.vrm file. You may create your avatar by VRoid Studio.
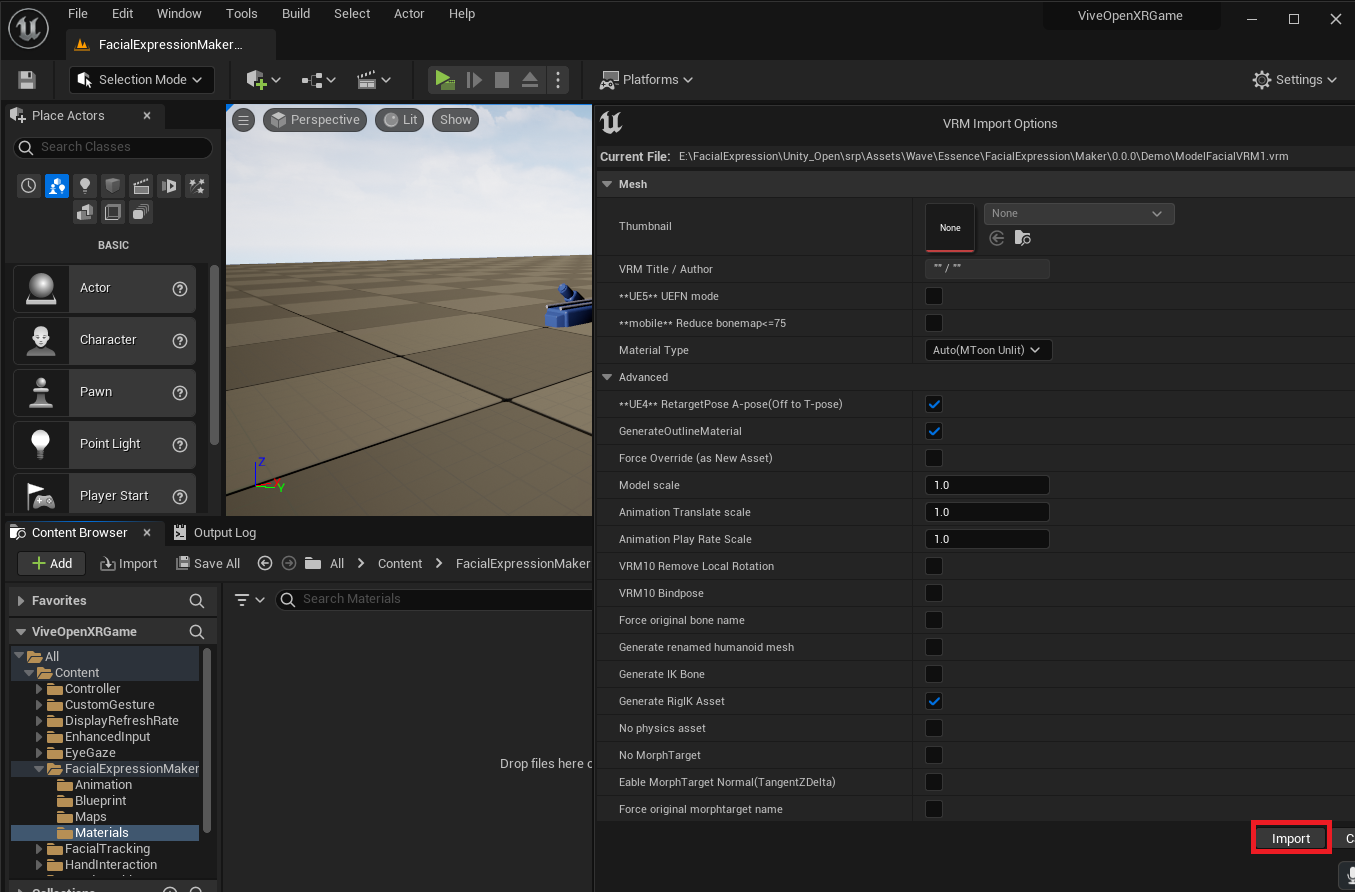
-
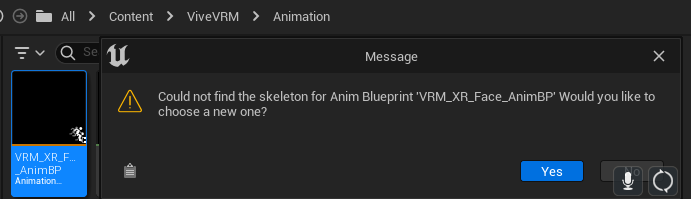
Under ViveVRM > Animation, double click on the VRM_XR_FacialTracking_mapping_pose, VRM_XR_FacialTracking_mapping_anim and animation blueprint VRM_XR_Face_AnimBP. If there is a following pop up window says Could not find skeleton, click Yes to link your VRM face skeleton to the animation blueprint.
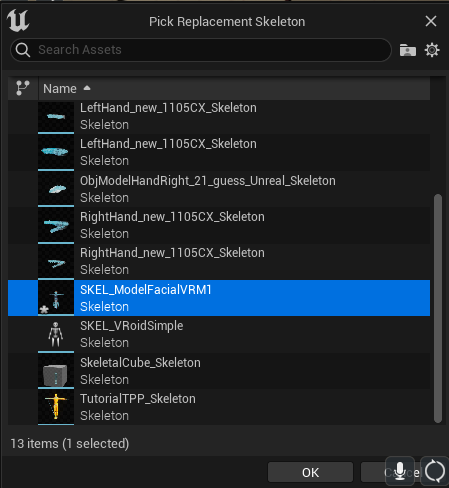
For example the VRM file is ModelFacialVRM1.vrm you need to select the face skeleton SKEL_ModelFacialVRM1.
Open up the Animation Blueprint AnimGraph and make sure the Live Link Pose is set to Eye and Lip.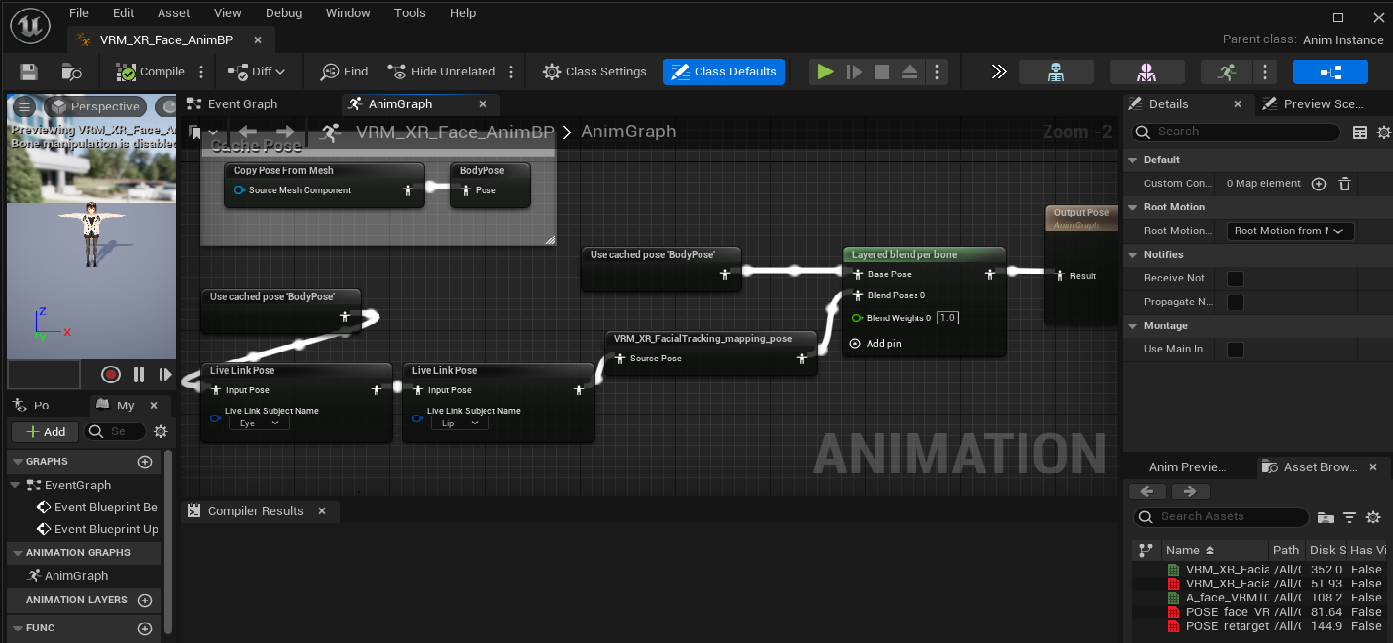
-
Double click on the VRM_XR_FacialTracking_mapping_anim if there is a following pop up window says Could not find skeleton, click Yes to link your VRM face skeleton to the animation blueprint.
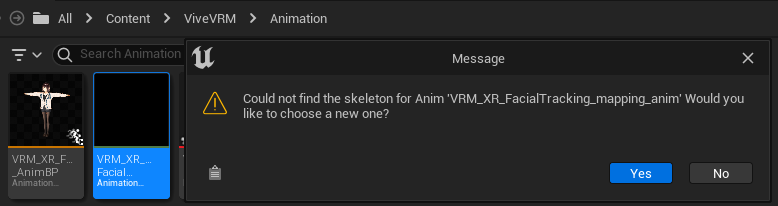
For example the VRM file is ModelFacialVRM1.vrm you need to select the SKEL_ModelFacialVRM1.
Drag your VRM_XR_Face_AnimBP into the map. Make sure the Anim Class is VRM_XR_Face_AnimBP.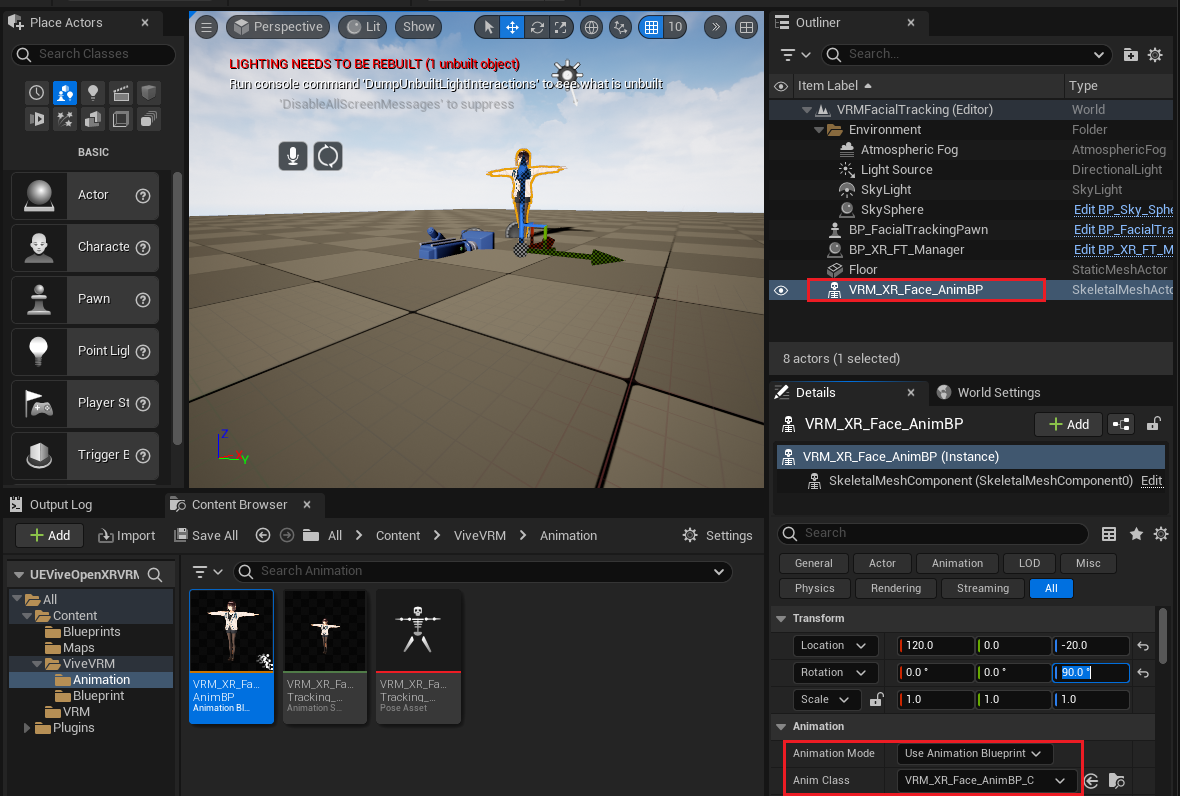
Next drag the BP_XR_FT_Manager under ViveVRM > Blueprint into the map. Make sure the Live Link preset is ViveOpenXRFacialLiveLinkPreset and Save all.
BP_XR_FT_Manager will pass the ViveOpenXRFacialLiveLinkPreset to Live Link Client.
-
Package the App and run in your VR device with all the facial tracking device connected check facial expression maker result.
Troubleshooting
If you encounter the compile error or WARNING related to VRM4U Util in Unreal editor please delete below files.(refer to)
The latest folder in Plugins > VRM4U > Content > Util > Actor.
The latest folder in Plugins > VRM4U > Content > Maps.
The M_CenterBlur.uasset in Plugins > VRM4U > Content > Util > Actor > Post > sub.