Getting Started with OpenXR
What will you learn?
You will learn how to setup a project using the VIVE OpenXR Plugin to create immersive content that runs on devices such as VIVE Devices.
Note: In this tutorial we will use Unity 2021.3.9f1 and VIVE Devices.
Prerequisite: Unity Versions 2020.3.15f2, 2020.3.30f1 and 2021.3.3f1 are verified and recommended.
What is VIVE OpenXR Plugin?
OpenXR enables XR portability across hardware VR devices to help developers prioritize content creation over porting.
Setup Project
Download the Vive OpenXR Plugin here.
Project Settings
-
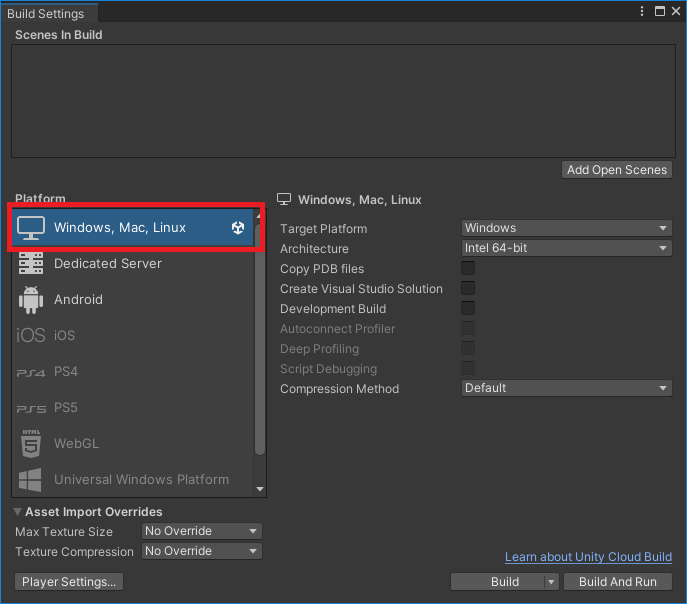
In File-> Build Settings, the target platform needs to be set to Android or PC. Click on Switch Platform.

-
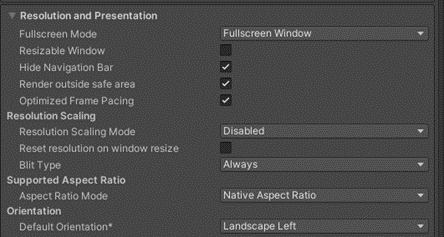
In Edit-> Project Settings-> Player-> Resolution and Presentation-> Orientation, Default Orientation needs to be set to Landscape Left.
-
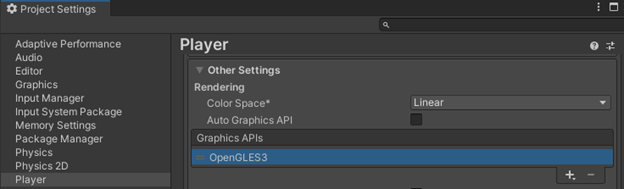
In Edit-> Project Settings-> Player-> Other Settings-> Graphics APIs, choose OpenGLES and remove Vulkan. ※ To shorten the build time of the Unity project , we recommend you choose only one Graphics API.
※ If you do not see the session for choosing Graphics APIs, please make sure the Auto Graphics API is unselected. (For more information of what Auto Graphics API does, please see here.)
-
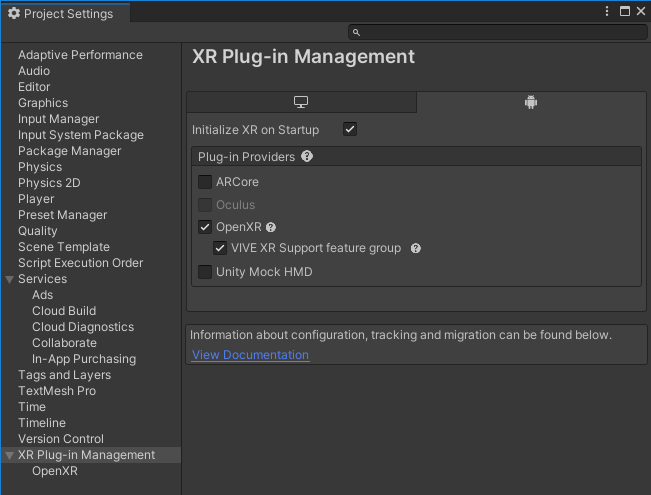
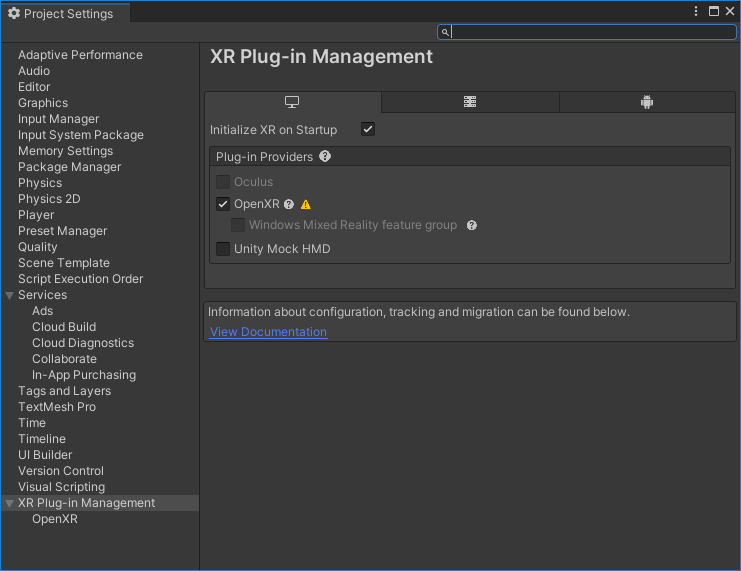
In Edit-> Project Settings-> XR Plug-in Management enable OpenXR and VIVE XR Support feature group.
-
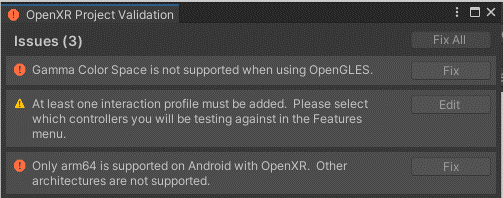
After enabling VIVE XR Support feature group, you may see a pop-up for OpenXR Project Validation with multiple issues displayed. Select Fix All.
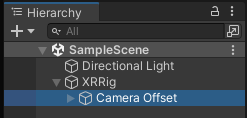
Create a test scene
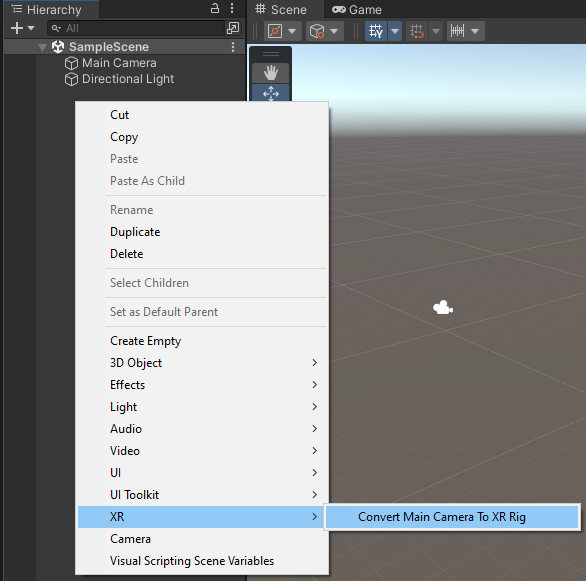
Right-Click in the Hierarchy window and choose XR-> Convert Main Camera to XR Rig.
Optional: Adding Controllers
Follow Unity's documents to configure an XR Rig with the XR Interaction Toolkit.
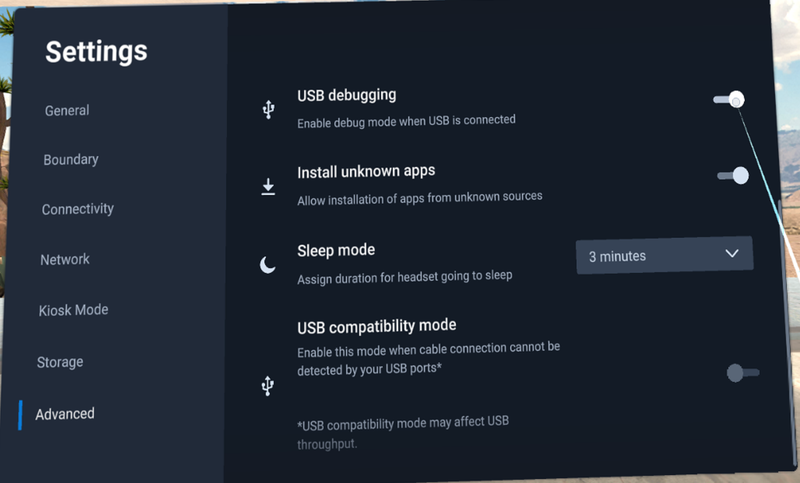
USB Debugging
Enable USB Debugging in the headset. Now the project can be built and run on VIVE Devices. For issues building and running the project, refer to Unity's Publishing to Android tutorial.