Composition Layer
Overview
In XR, the render pipeline will sample the content (what the player sees in the app) twice. By doing so, the graphics looks worse and makes it harder for the player to see some important information, such as texts. By using Composition Layer, we can bypass one of the sampling processes, which will result in a much better and clearer image.
Supported Platforms and devices
| Platform | Headset | Supported | |
| PC | PC Streaming | Focus3/ XR Elite | X |
| Pure PC | Vive Cosmos | X | |
| Vive Pro series | X | ||
| AIO | Focus3/ XR Elite | V | |
The Use cases of Composition Layer:
Understanding and Using Composition Layer
In this session, we are going to learn how to use the Composition Layer feature provided by VIVE OpenXR Plugin in Unity .
Install the feature
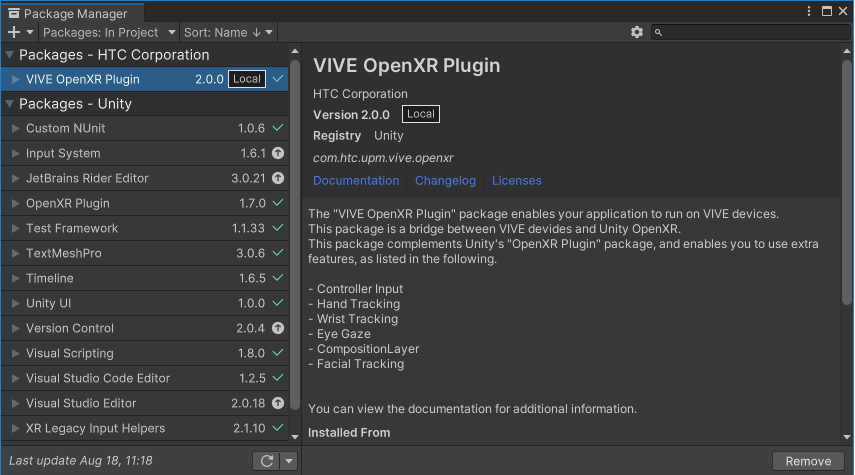
Step 1. Upgrade your VIVE OpenXR Plugin & Toolkit for Android to 1.0.2 or higher
Go to Window -> Package Manager , and upgrade the packages
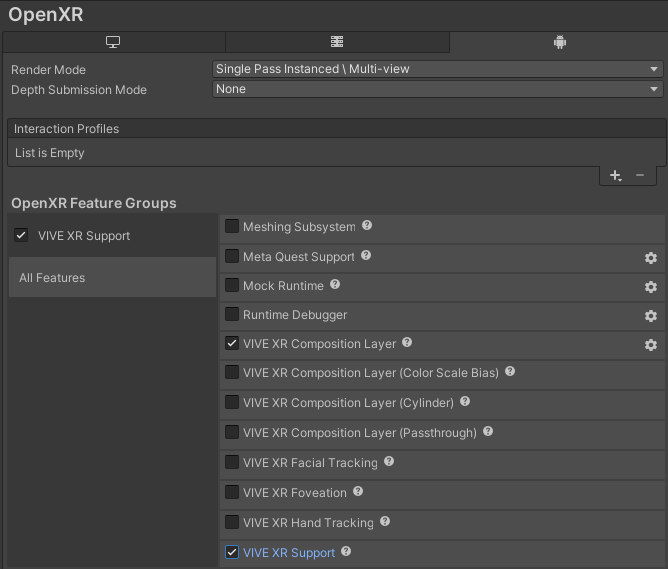
Step 2. Enable the Composition Layer feature
Next, Go to Edit -> ProjectSettings -> XR Plug-In Management -> OpenXR , and enable VIVE XR Composition Layer
Note: If you want to use specific features such as Color Scale Bias or Cylinder, you should enable them as well .
Before we go any further, notice that there are two kinds of Composition Layer component provided by Vive OpenXR Plugin , Composition Layer and Composition Layer UI Canvas.
First, let’s take a look at Composition Layer .
Using the Composition Layer component
The Composition Layer component is basically a mesh, which is drawn not by Unity, but by the headset’s runtime, leading to a better and clearer image.
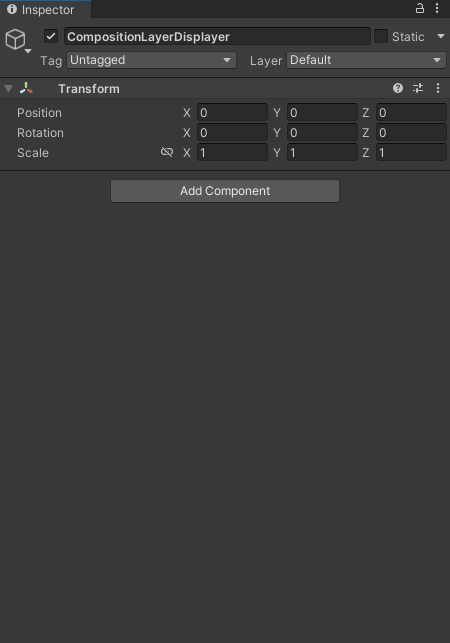
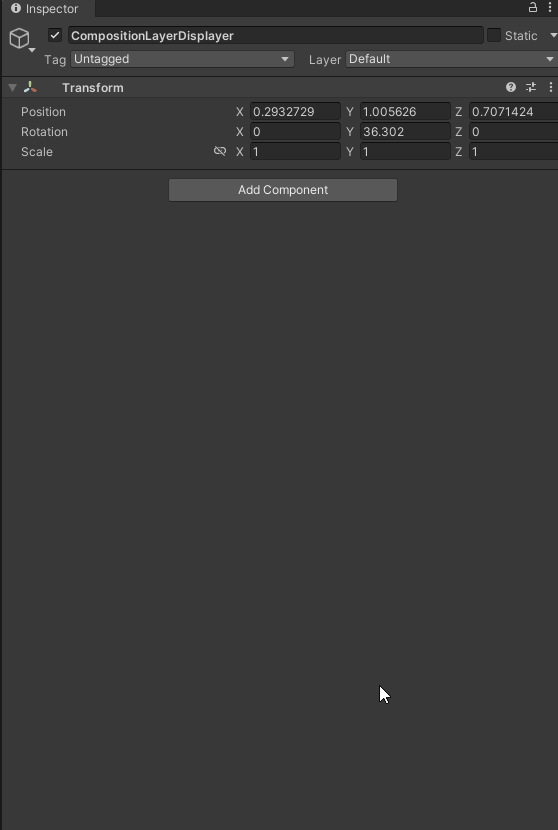
Step 1 . Create an empty GameObject and name it
Create a GameObject and name it "CompositionLayerDisplayer".
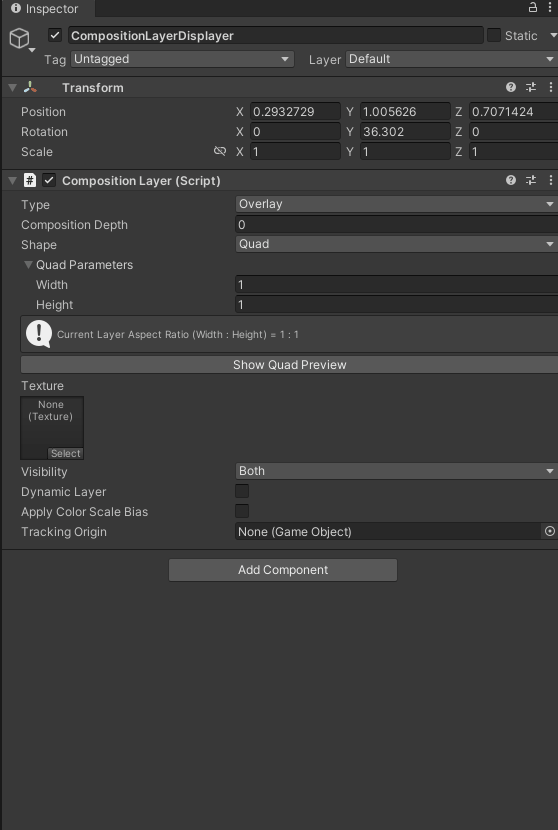
Step 2 . Add the Composition Layer component
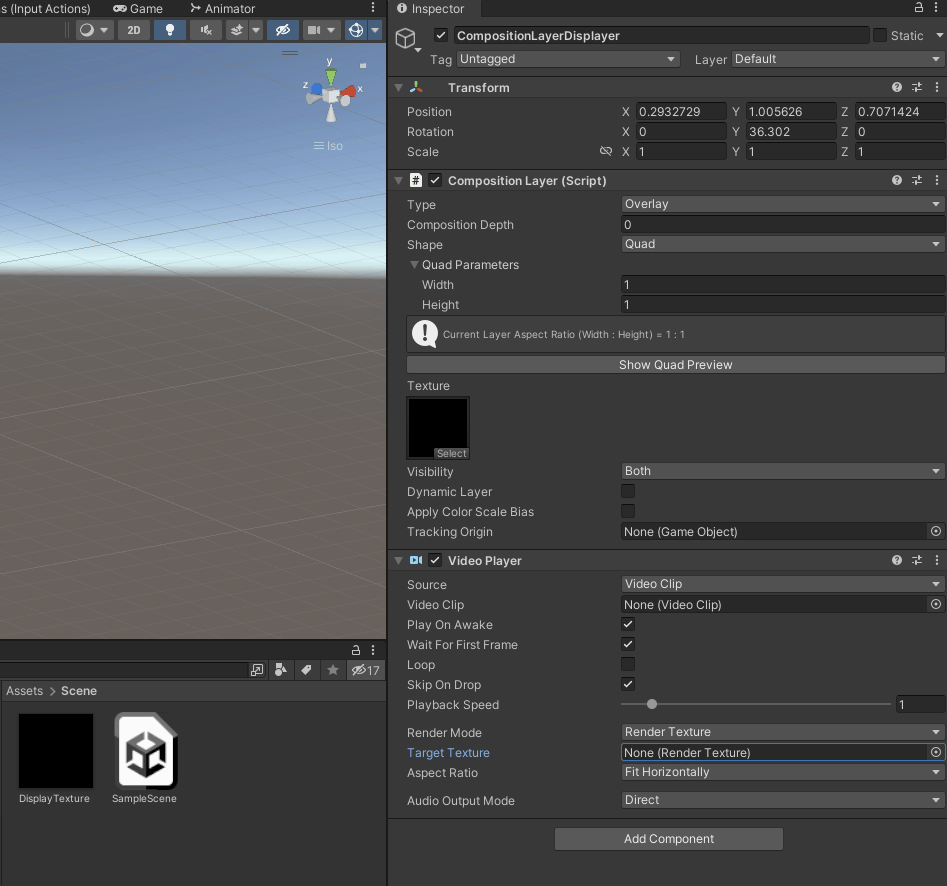
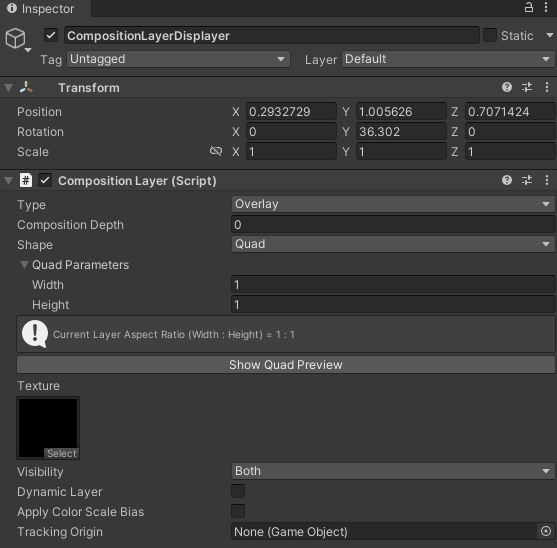
Here is an overview of the parameters of the Composition Layer component :
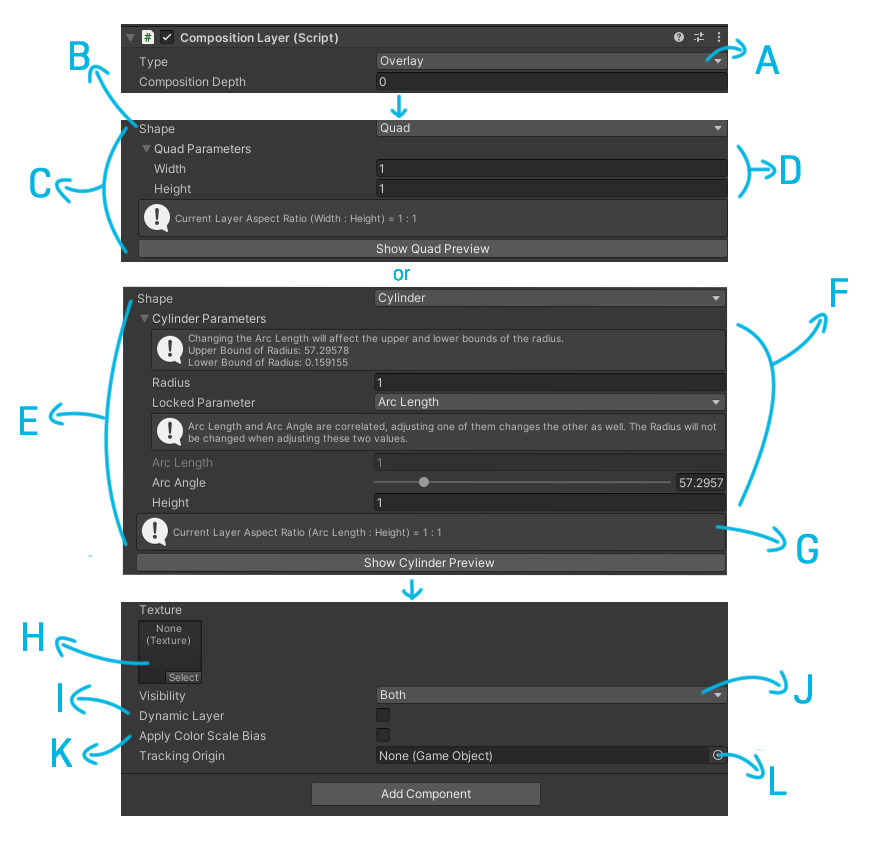
- A (Type):
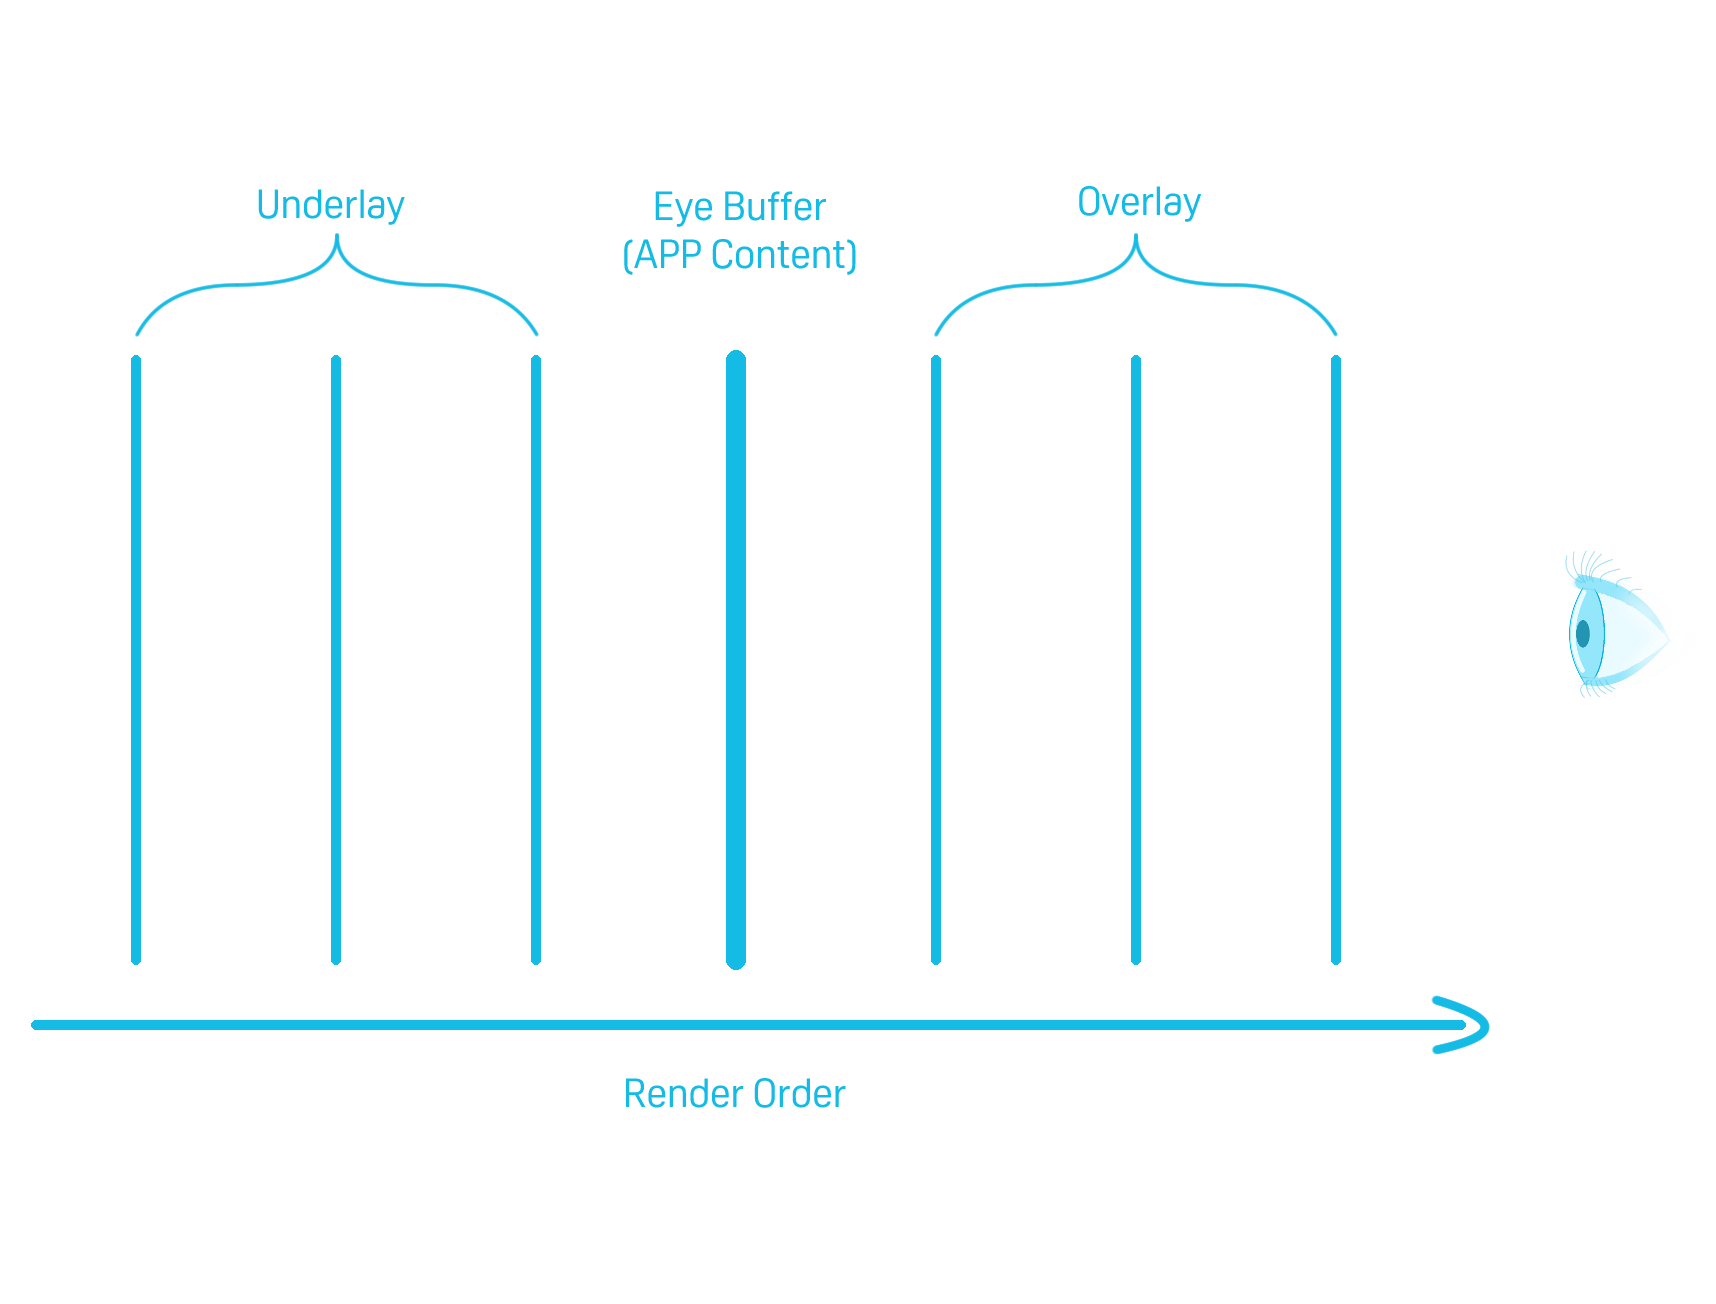
Whether the Composition Layer should be on top of the app content or not. If Overlay is selected, the Composition Layer will block all content in the app. Otherwise, if Underlay is chosed, the composition Layer will blend with the content, blocking or be blocked like usual GameObjects . - B(Shape):
Should the Composition Layer be flat or cylindrial ? - C (For Quad) :
If Quad is chosen . - D (Width & Height):
The Width & Height of the Quad should always have the same ratio with the Texture. Otherwise, the outcome image will be stretched. - E (For Cylinder):
If Cylinder is chosen . - F (Cylinder Parameters):
How circular do you want the Composition Layer to be? - G (Aspect Ratio):
The ratio of Cylinder Composition Layer should also be consistent with the original texture . - H (Texture):
The texture of the layer . - I (Dynamic Layer):
Will the texture change dynamically when the app is running? e.g. a video . Or is the texture will not change? e.g. a picture or a line of text - J (Visibility):
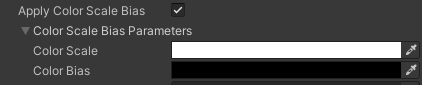
Should the Composition Layer image be seen by both eyes or only one of them? - K (Apply Color Scale Bias):
Color scale and bias are applied to a layer color during composition, after its conversion to premultiplied alpha representation. - L (Tracking Origin):
The tracking origin of the scene, usually the root of the Rig .
Note:
Remember the world Scale of the Composition Layer GameObject should always be Vector3(1, 1, 1). If you need to scale the Composition Layer, use the Parameters under Shape (e.g. Width & Height)
For an in-depth look at the Color Scale Bias: please check the OpenXR definition .
Next, we are going to see the other kind of Composition Layer provided by VIVE OpenXR Plugin, the Composition Layer UI Canvas .
Using the Composition Layer UI Canvas component
The Composition Layer UI Canvas component converts a UI canvas into a Composition Layer, which is also not drawn by Unity, but by the headset’s runtime .
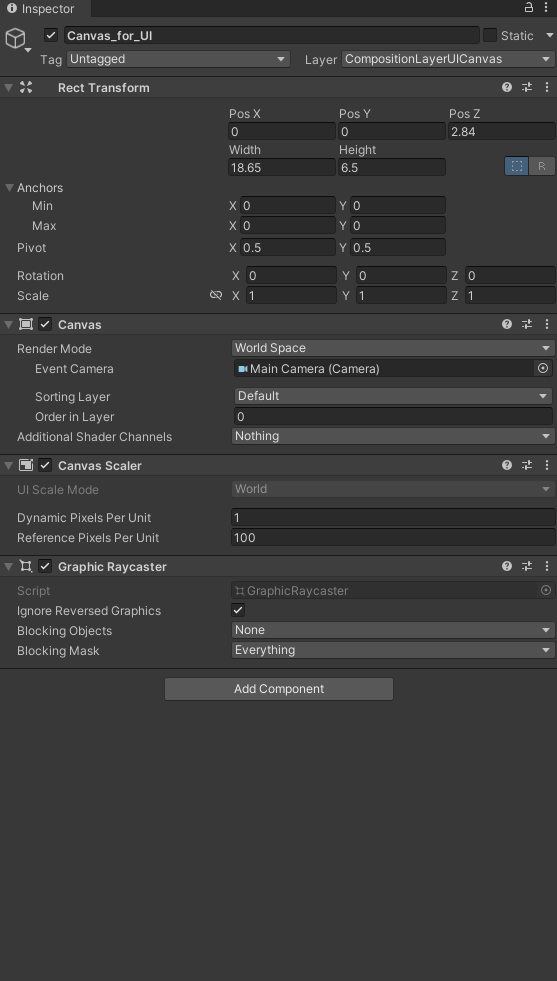
Step 1. Select or Create an UI Canvas
Select or Create a UI canvas which you would like to make a Composition Layer .
Step 2. Add the Composition Layer UI Canvas component
Following are the usages of the parameters of the Composition Layer UI Canvas .
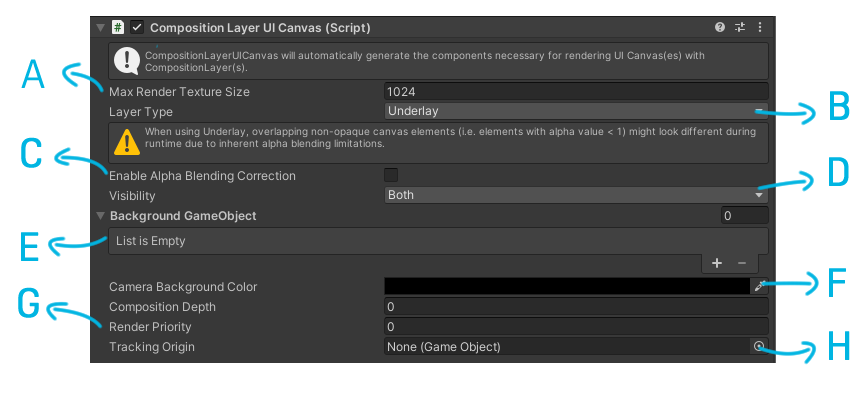
- A (Max Render Texture Size) :
The resolution of the Composition Layer UI Canvas - B (Layer Type) :
Should the layer be an Overlay or Underlay? - C ( Enable Alpha Blending Correction ):
Enable this id the transparent UI is dracker then expected. - D (Visibility ):
Should the layer being seen by both eyes or only one of them? - E (Background GameObject ):
Are there any GameObject you wish the layer to deem as background? - F (Camera Background Color) :
The background color of the layer - G (Render Priority ):
Layers with a higher render priority and are within the maximum layer count will be rendered as Multi-Layers, while the others will be rendered in Unity. - H (Tracking Origin) :
The tracking origin of the scene, usually the root of the Rig .
At this point, you should have a basic understanding on how to add basic Composition Layers to your apps.
However, since there are so many use cases where you can make use of Composition Layers, I will discuss some of the more popular ones separately.
You can check the list at the end of this session and pick the topics that you are interested in .
Making High Quality Videos in XR
Hello again, in other sessions, we talked about how to make texts and images clearer by using Composition Layer, but do you know it can also make videos look better ? Imagine how cool it is to see a movie with big and clear screen in XR!
In this session, I’d like to teach you how to do it.
Before we start, if you are not familiar with the Composition Layer feature, please check Composition Layer .
Remember to come back after you finished reading that article.
Okay, now that you have a brief understanding of the Composition Layer, let’s continue.
Step 1. Create an empty GameObject and Add a Composition Layer component to it
Create a Gameobject with a Composition Layer component.
Step 2 . Add Video Player to the same GameObject
Add Video Player to the same GameObject
Step 3 . Create a Render Texture
Step 4 . Assign the Render Texture to the Composition Layer
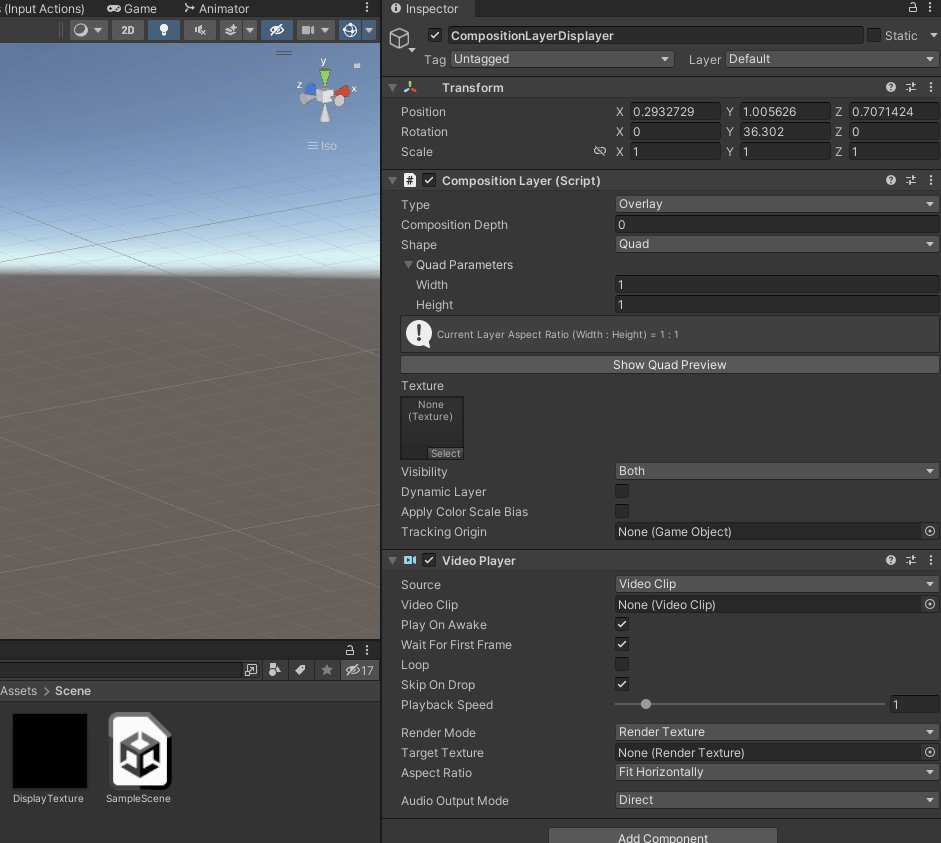
Step 5 . Assign the Render Texture to the Video Player and give it the Video Clip
Step 6 . Enable Dynamic Layer under the Composition Layer
Final Step.
Adjust the position, rotation, size and all other parameters of the Composition Layer according to your needs .
Remember the Scale of the Composition Layer GameObject should always be Vector3(1, 1, 1).
If you need to scale the Composition Layer, use the Parameters under Shape (e.g. Width & Height)
Now, go build and run the app and enjoy your high-quality video in XR!
Making UI Text and Images Clearer in XR
Hello! In this session, I want to talk about how to make it easier for the player to read texts and see images in your contents. As game designers, we both know that UI texts and images are important in content apps. They are widely used in various situations, such as tutorial guidance, UI buttons, information placed in the game scene, and more. In XR, instead of getting sampled once like in other devices, due to unavoidable reasons, the final image seen by the player is sampled twice in all XR devices. Therefore, the player may find it difficult to see important information clearly, such as images and texts , especially when they are small. Obviously, the easy way to fix this problem is to make them bigger. But have you ever wondered if there is any way for us to make the texts and images clearer without making them bigger , which ends up sabotaging your beautiful game scenes? If you have, then today is your lucky day, because I am here to provide you with a solution to this problem — the Composition Layer feature provided by VIVE OpenXR Plugin .
By using Composition Layer, we are able to make the texts and images clearer without having to make them bigger.
Before we start, if you are not familiar with how to enable the Composition Layer feature, please check Composition Layer .
Remember to come back after you finished reading that article.
Okay, now that you have a brief understanding of the Composition Layer feature, let’s continue.
Clearer UI
First, let me show you how to make the UI clearer.
Step 1. Making a normal UI
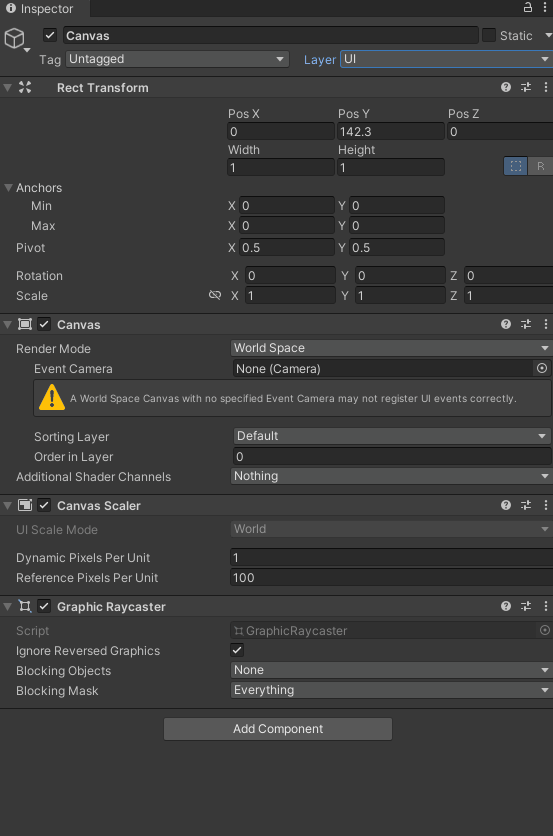
In your scene, I am assuming that you’re using the typical Unity UI text and image .
So please add an UI text in the scene like you normally do.
Step 2 . Create a Render Texture
Create a Render Texture
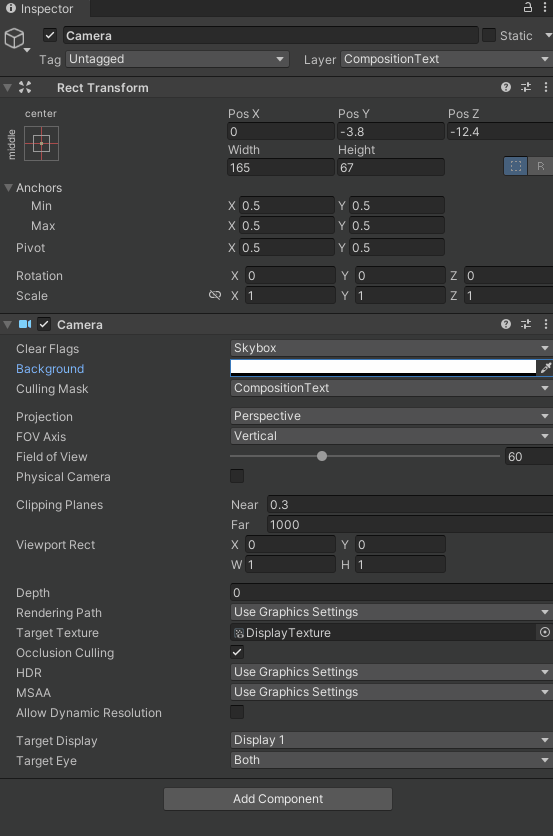
Step 3 . Place an additional camera
Like I mentioned in Understanding and Using Composition Layer , you can use a Render Texture as the image source of a Composition Layer.
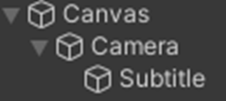
So, I want you to put an extra camera on the scene, the purpose of this camera is to render the UI text onto the Render Texture we just made.
Although it is not necessary, I suggest you to place the Text you want to show as a child object of Camera.
The result should be like this.
Step 4 . Assign the Render Texture to the Render Target of the extra Camera
Remember to assign the RenderTexture to the camera, so that the Camera will put what it sees in the Render Texture.
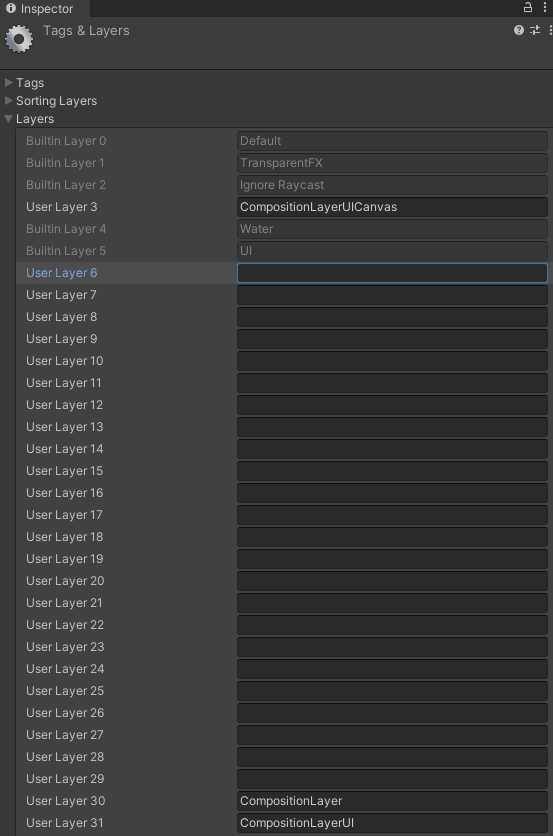
Step 5. Add an additional Layer
Add an additional Layer for the Canvas and all UI under it.
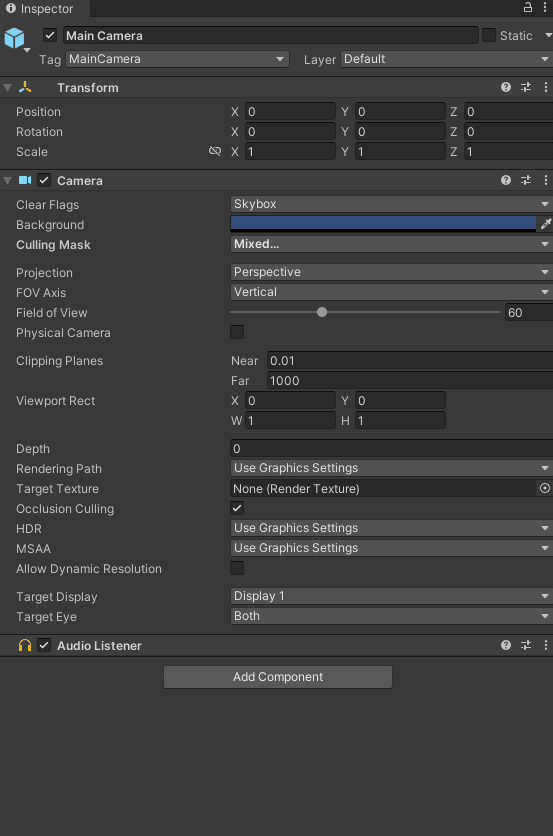
Step 6. Remove the additional Layer in the Main Camera’s culling Mask
Remove the additional Layer in the Main Camera’s culling Mask, so that the Main Camera won’t render it.
Step 7. Add only the additional Layer for the extra Camera and Change the Clear Flag to solid black
For the extra Camera, because we only want it to render the Canvas, remove all other layers, and change the Clear Flag to solid black.
Step 8. Create an empty GameObject and add a Composition Layer component onto it
Create a Gameobject with a Composition Layer component.
Instead of the original canvas, this GameObject will be the one showing the text.

Step 9. Assign the Render Texture to the Composition Layer
Assign the Render Texture to the Composition Layer .
Final Step.
Adjust the position, rotation, size and all other parameters of the Composition Layer according to your needs .
Note:
Remember the world Scale of the Composition Layer GameObject should always be Vector3(1, 1, 1).
If you need to scale the Composition Layer, use the Parameters under Shape (e.g. Width & Height)