For C++ developers
Here’s a simple example of including VIVEPORT SDK in a C++ project.
-
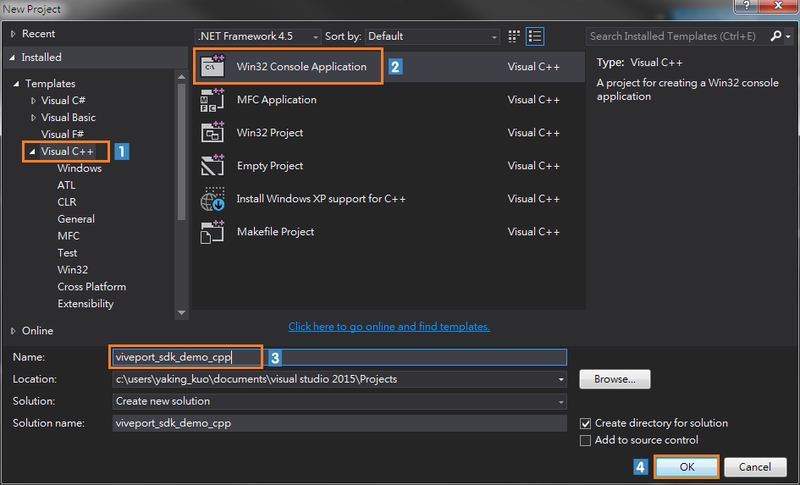
In Visual Studio 2015, create an empty Visual C++ project and name it as “
viveport_sdk_demo_cpp”.
-
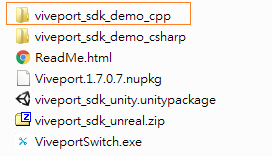
Go to the demo folder, “
viveport_sdk_demo_cpp”, of the VIVEPORT SDK.
-
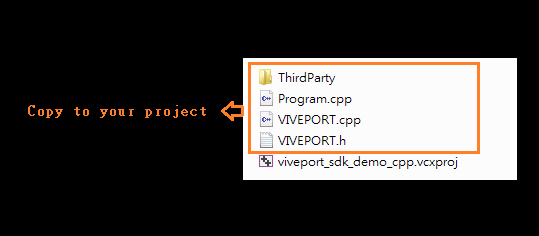
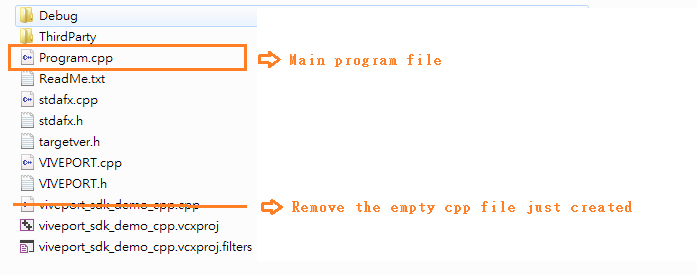
Copy the necessary header and source files to the project folder that you’ve just created.
-
Remove the empty project,
viveport_sdk_demo_cpp.cpp, from your project folder. Use the demo sample code,program.cpp, as your main project.
-
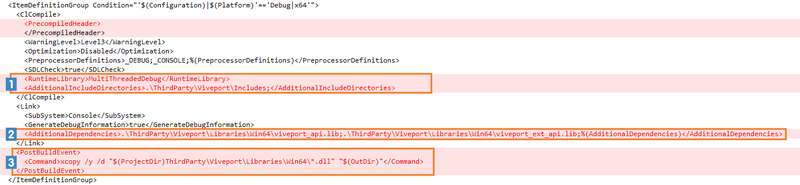
Using a text editor, copy and paste the sets of source codes below for different Windows environments from
viveport_sdk_demo_cpp.vcxprojto your project file “(.vcxproj)”.
-
For Windows 32-bit release:

-
For Windows 64-bit release:

-
For Windows 32-bit debug environment:

-
For Windows 64-bit debug environment:
-
For necessary header and source files:

-
For Windows 32-bit release:
-
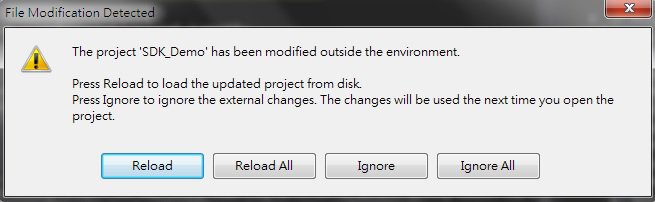
Reload your project and rebuild it.Open Visual Studio 2015.
When you see the Reload dialog box, click the Reload button, and then rebuild your project.
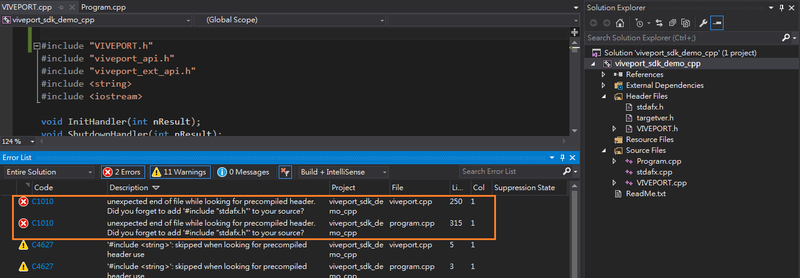
If you encounter the errors below, add #include “stdafx.h” into theProgram.cppandVIVEPORT.cppfiles.