Passthrough
Extension introduces
XR_HTC_passthrough allows developers to create an application with Passthrough (Underlay for now). Passthrough Underlay is a feature that shows passthrough image under content layer.
Supported Platforms and Devices
| Platform | Headset | Passthrough Underlay | Passthrough Configuration | |
| PC | PC Streaming |
Focus 3/ XR Elite/
Focus Vision |
2.4.0 and above | X |
| Pure PC | Vive Cosmos | X | X | |
| Vive Pro series | X | X | ||
| AIO | Focus 3 | 2.0.0 and above | X | |
| XR Elite | 2.0.0 and above | 2.5.0 and above | ||
| Focus Vision | 2.0.0 and above | 2.5.0 and above | ||
※ Projected Passthrough for PC Streaming is supported on UE5.3 and above.
※ Known Issue : In VR Preview mode within the editor, only materials with the blend mode set to Translucent are visible when using passthrough. This issue does not occur in the packaged application.
How to use ViveOpenXR Passthrough Feature
- Please make sure ViveOpenXR is enabled.
- Edit > Project Settings > Plugins > Vive OpenXR > Click Enable Passthrough under Passthrough to enable OpenXR Passthrough extension.
- Restart the engine to apply new settings after clicking Enable Passthrough.
- For the available Passthrough functions, please refer to ViveOpenXRPassthroughFunctionLibrary.h.
- Passthrough Blueprint functions.
Type Passthrough to get the Passthrough blueprint functions your content needs.
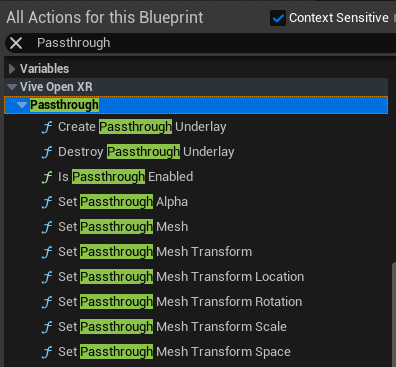
Create Passthrough Underlay
-
Create Passthrough Underlay
Use this function to create a Passthrough Underlay .
The InPassthroughLayerForm parameter specifies the type of Passthrough Underlay to be created.
Planar: a full screen passthrough that covers the entire FOV.
Projected: a passthrough only covers part of the FOV, in which the area is determined by a custom mesh and its transform. -
Switch Passthrough Underlay
Use this function to switch passthrough layer form. -
Destroy Passthrough Underlay
Use this function to destroy Passthrough Underlay by handle. -
Is Passthrough Enabled

Use this function to check if the Passthrough feature is enabled or not. -
Set Passthrough Alpha
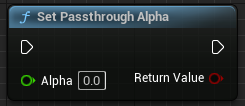
Use this function to set the opacity of the Passthrough Underlay.
The “alpha” parameter specifies the target opacity (Clamped to range [0,1]). -
Set Passthrough Mesh

Use this function to specify the mesh data of the customized mesh for Projected Passthrough Underlay.
“ vertices ” specifies the vertices of the mesh.
“ indices ” specifies the triangle indices of the mesh.
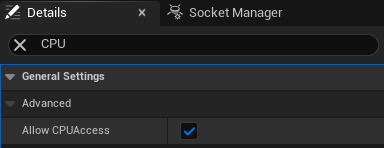
Note: If you derive vertices and indices from GetSectionfromStaticMesh.
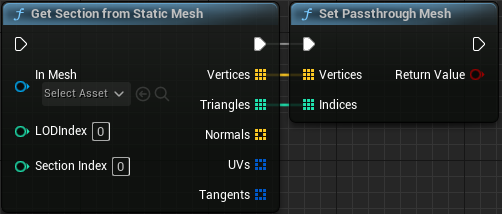
Please make sure the setting Allow CPUAccess of the static mesh which In Mesh referenced is enabled . The setting is at Details > Advanced of the static mesh asset.
-
Set Passthrough Mesh Transform

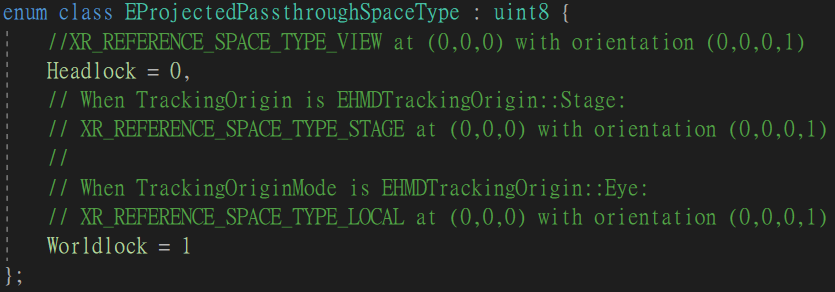
Use this function to set the space type and the transformation of the mesh to be used by Projected Passthrough Underlay.
” meshSpaceType ” specifies the XrSpace configuration to be used by Projected Passthrough Underlay, which is defined as follows:
-
Set Passthrough Mesh Transform Location
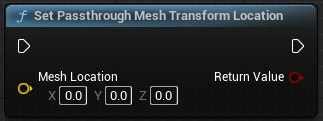
Use this function to set the scale of the Projected Passthrough Underlay. -
Set Passthrough Mesh Transform Rotation
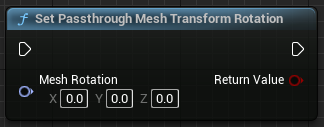
Use this function to set the orientation of the Projected Passthrough Underlay. -
Set Passthrough Mesh Transform Scale
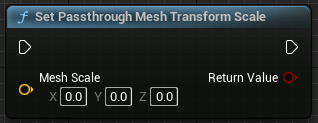
Use this function to set the scale of the Projected Passthrough Underlay. -
Set Passthrough Mesh Transform Space
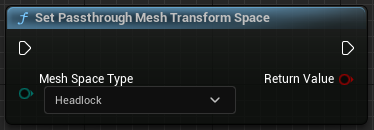
Use this function to set the space type to be used by Projected Passthrough Underlay.
Refer to “ 7. ” for details on “meshSpaceType”.
Passthrough Configuration
-
Setup passthrough configuration in ProjectSettings.

-
Set Passthrough Quality.
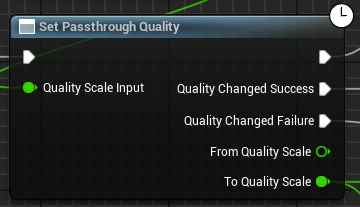
Modifying the image quality of the passthrough.
Value from 0 to 1. Default is 1. Decrease the value will downgrade passthrough quality. -
Set Passthrough Rate.
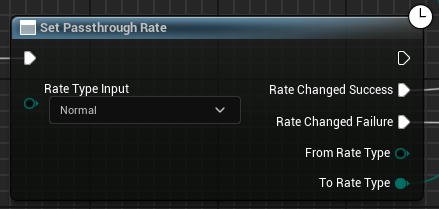
Adjusting the image rate of the passthrough.
Normal: default rate.
Boost: reduce passthrough image rate to gain performance.
Play the sample map
- Make sure the OpenXR Passthrough extension is enabled, the setting is in Edit > Project Settings > Plugins > Vive OpenXR .
-
The sample map is under Content > Passthrough > Map .
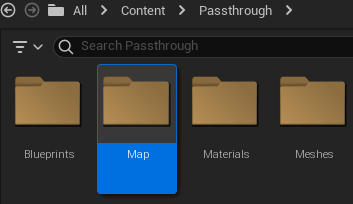
-
Sample map controls.
Right A Press: Create Planar & Projected Passthrough handles, and will auto switch to Planar Passthrough.
Right B Press: Switch between Planar & Projected Passthrough.
Right X Press: Delete Planar Passthrough handle.
Right Y Press: Delete Projected Passthrough handle.
Right Thumb Stick: Move ProjectedPassthrough mesh.
Left Thumb Stick: Rotate ProjectedPassthrough mesh.