Making UI Text and Images Clearer in XR
⚠ NOTICE |
|
This legacy plugin is no longer being updated and maintained, please develop mobile content with OpenXR 2-in-1 Unity / Unreal package . |
Hello! In this session, I want to talk about how to make it easier for the player to read texts and see images in your contents. As game designers, we both know that UI texts and images are important in content apps. They are widely used in various situations, such as tutorial guidance, UI buttons, information placed in the game scene, and more. In XR, instead of getting sampled once like in other devices, due to unavoidable reasons, the final image seen by the player is sampled twice in all XR devices. Therefore, the player may find it difficult to see important information clearly, such as images and texts , especially when they are small. Obviously, the easy way to fix this problem is to make them bigger. But have you ever wondered if there is any way for us to make the texts and images clearer without making them bigger , which ends up sabotaging your beautiful game scenes? If you have, then today is your lucky day, because I am here to provide you with a solution to this problem — the Composition Layer feature provided by VIVE Wave OpenXR Plugin – Android .
By using Composition Layer, we are able to make the texts and images clearer without having to make them bigger.
Before we start, if you are not familiar with how to enable the Composition Layer feature, please check Composition Layer .
Remember to come back after you finished reading that article.
Okay, now that you have a brief understanding of the Composition Layer feature, let’s continue.
Clearer UI
First, let me show you how to make the UI clearer.
Step 1. Making a normal UI
In your scene, I am assuming that you’re using the typical Unity UI text and image .
So please add an UI text in the scene like you normally do.
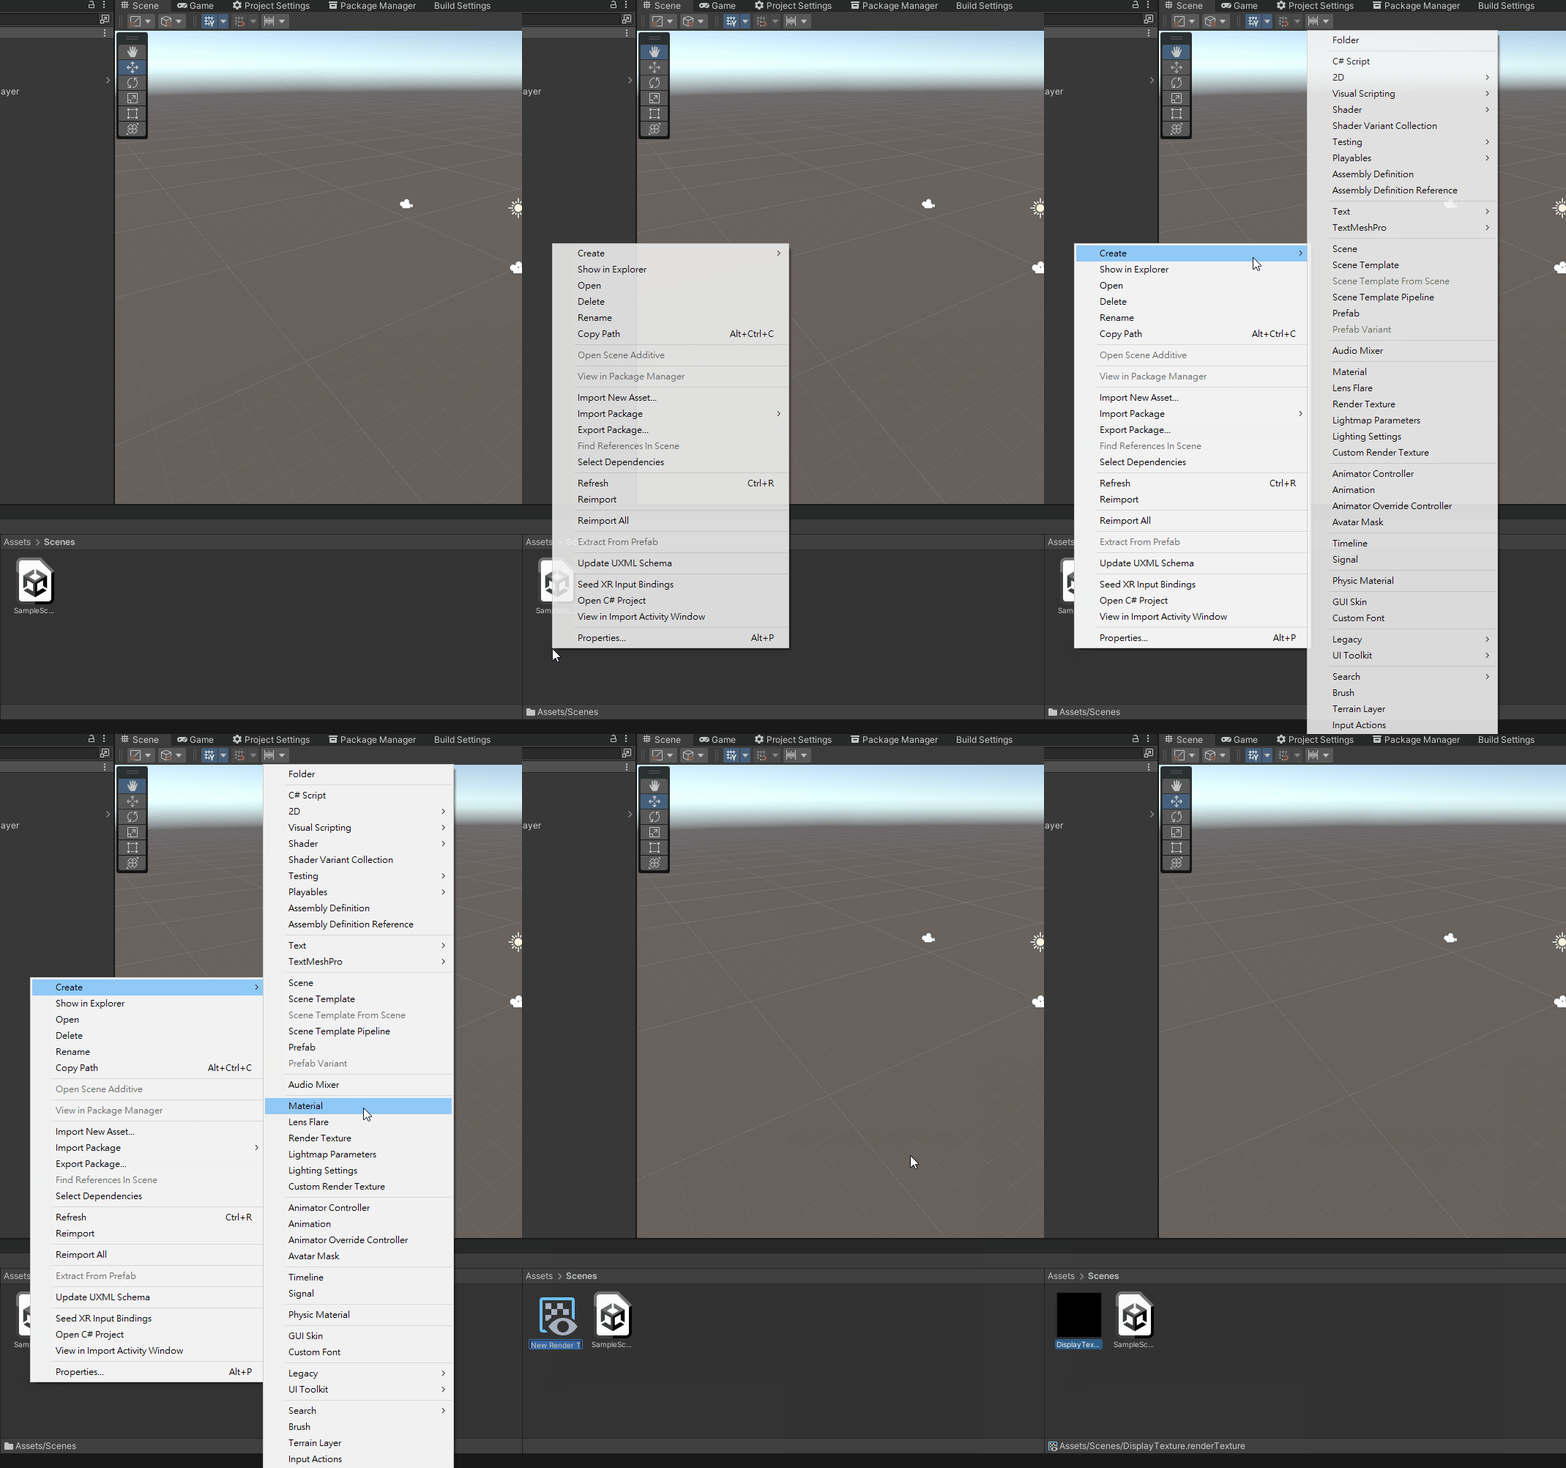
Step 2 . Create a Render Texture
Create a Render Texture
Step 3 . Place an additional camera
Like I mentioned in Understanding and Using Composition Layer , you can use a Render Texture as the image source of a Composition Layer.
So, I want you to put an extra camera on the scene, the purpose of this camera is to render the UI text onto the Render Texture we just made.
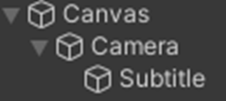
Although it is not necessary, I suggest you to place the Text you want to show as a child object of Camera.
The result should be like this.
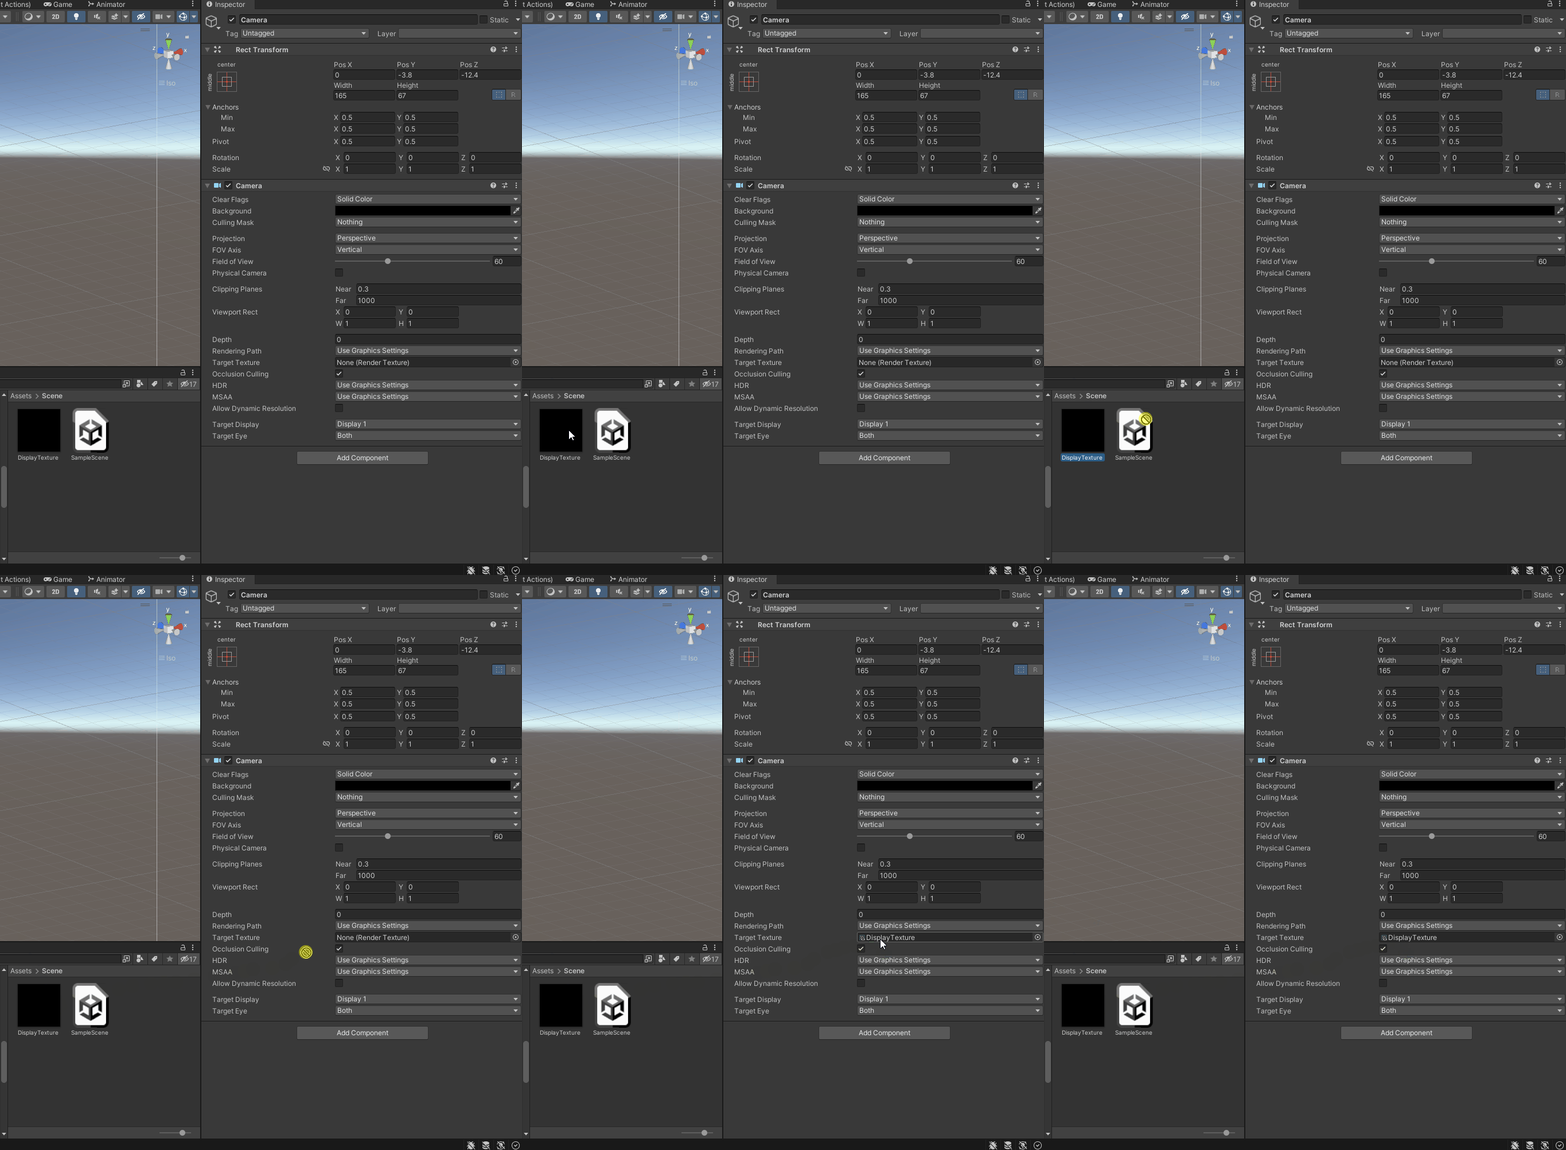
Step 4 . Assign the Render Texture to the Render Target of the extra Camera
Remember to assign the RenderTexture to the camera, so that the Camera will put what it sees in the Render Texture.
Step 5. Add an additional Layer
Add an additional Layer for the Canvas and all UI under it.
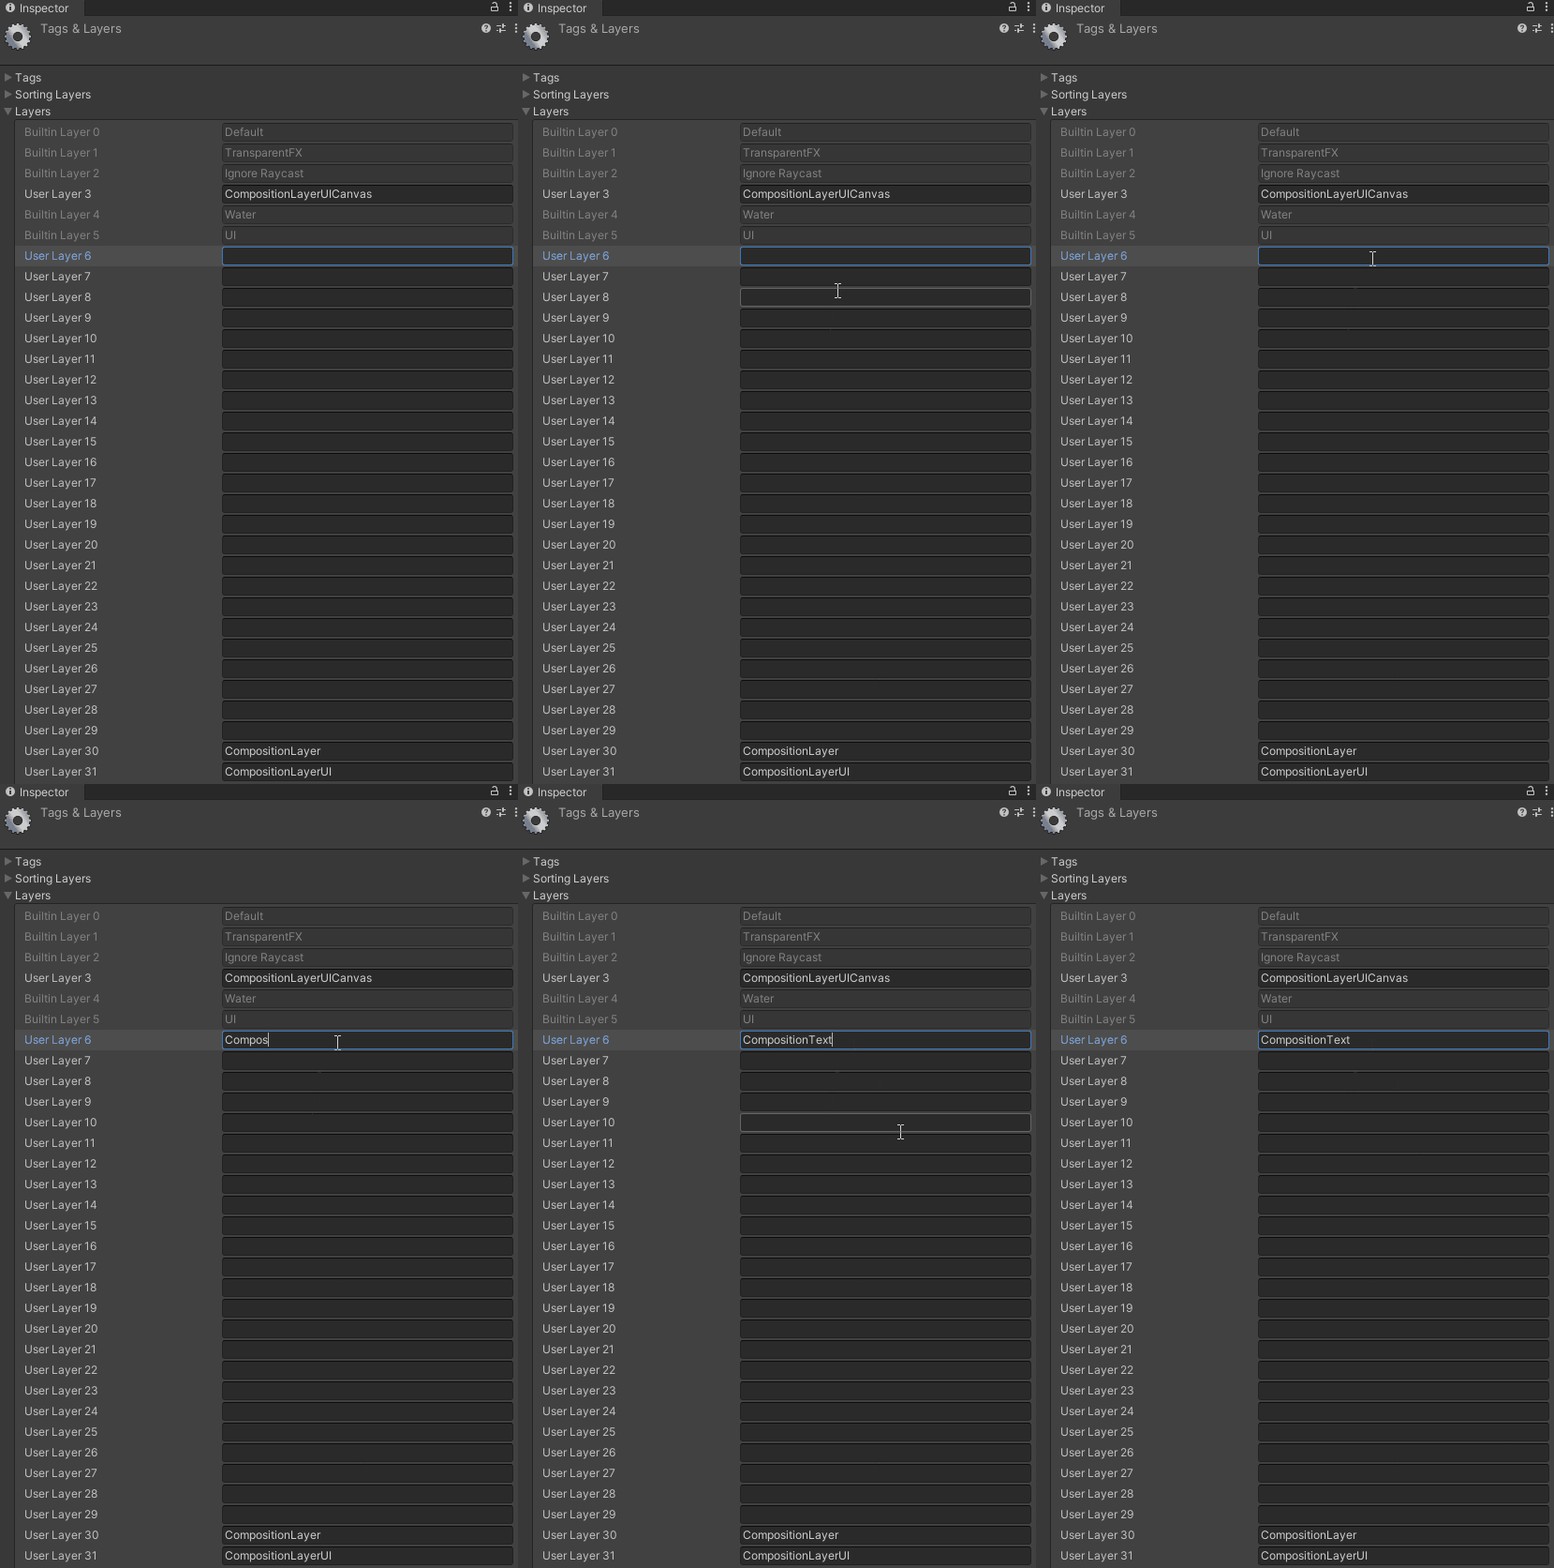
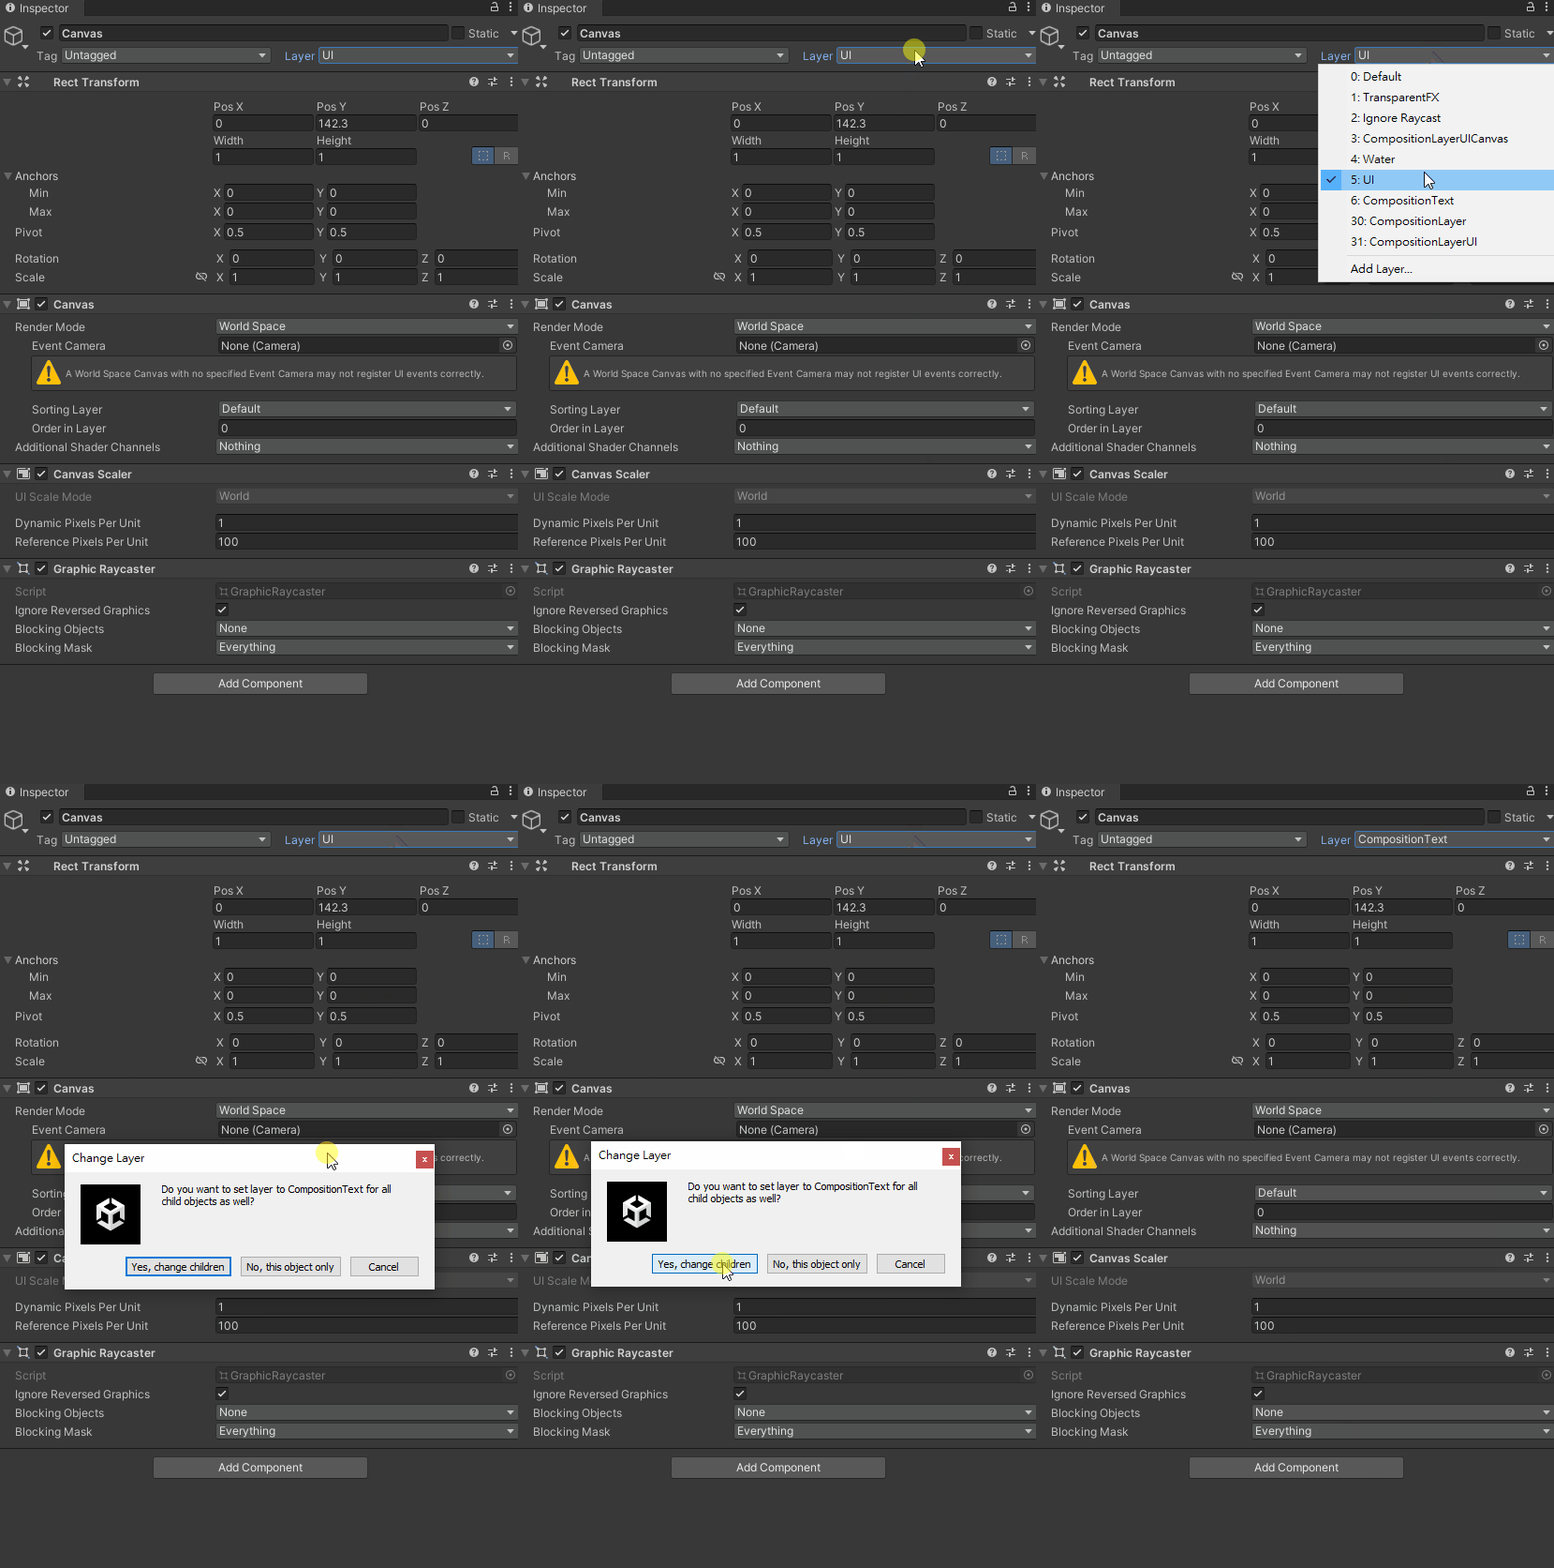
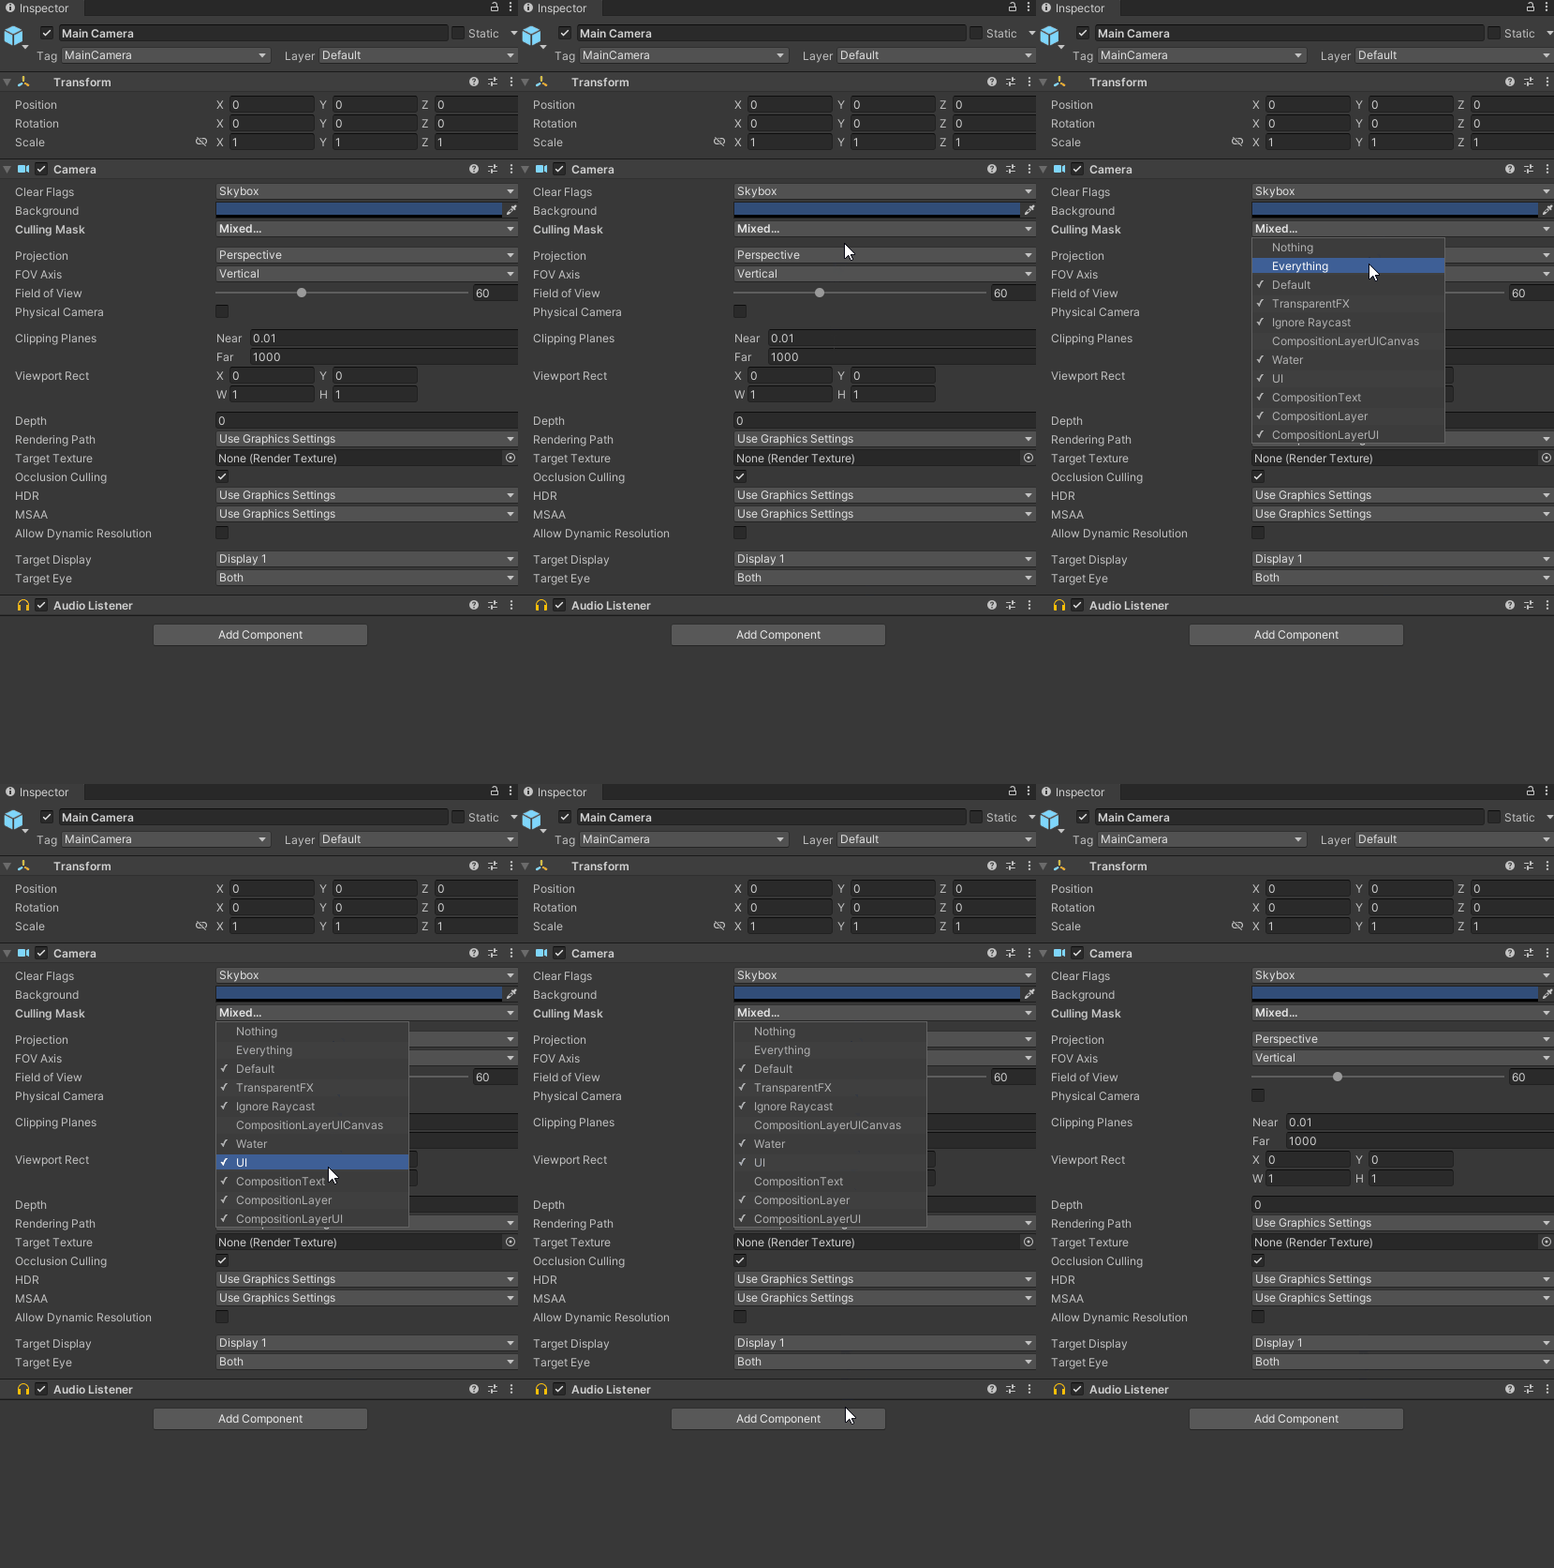
Step 6. Remove the additional Layer in the Main Camera’s culling Mask
Remove the additional Layer in the Main Camera’s culling Mask, so that the Main Camera won’t render it.
Step 7. Add only the additional Layer for the extra Camera and Change the Clear Flag to solid black
For the extra Camera, because we only want it to render the Canvas, remove all other layers, and change the Clear Flag to solid black.
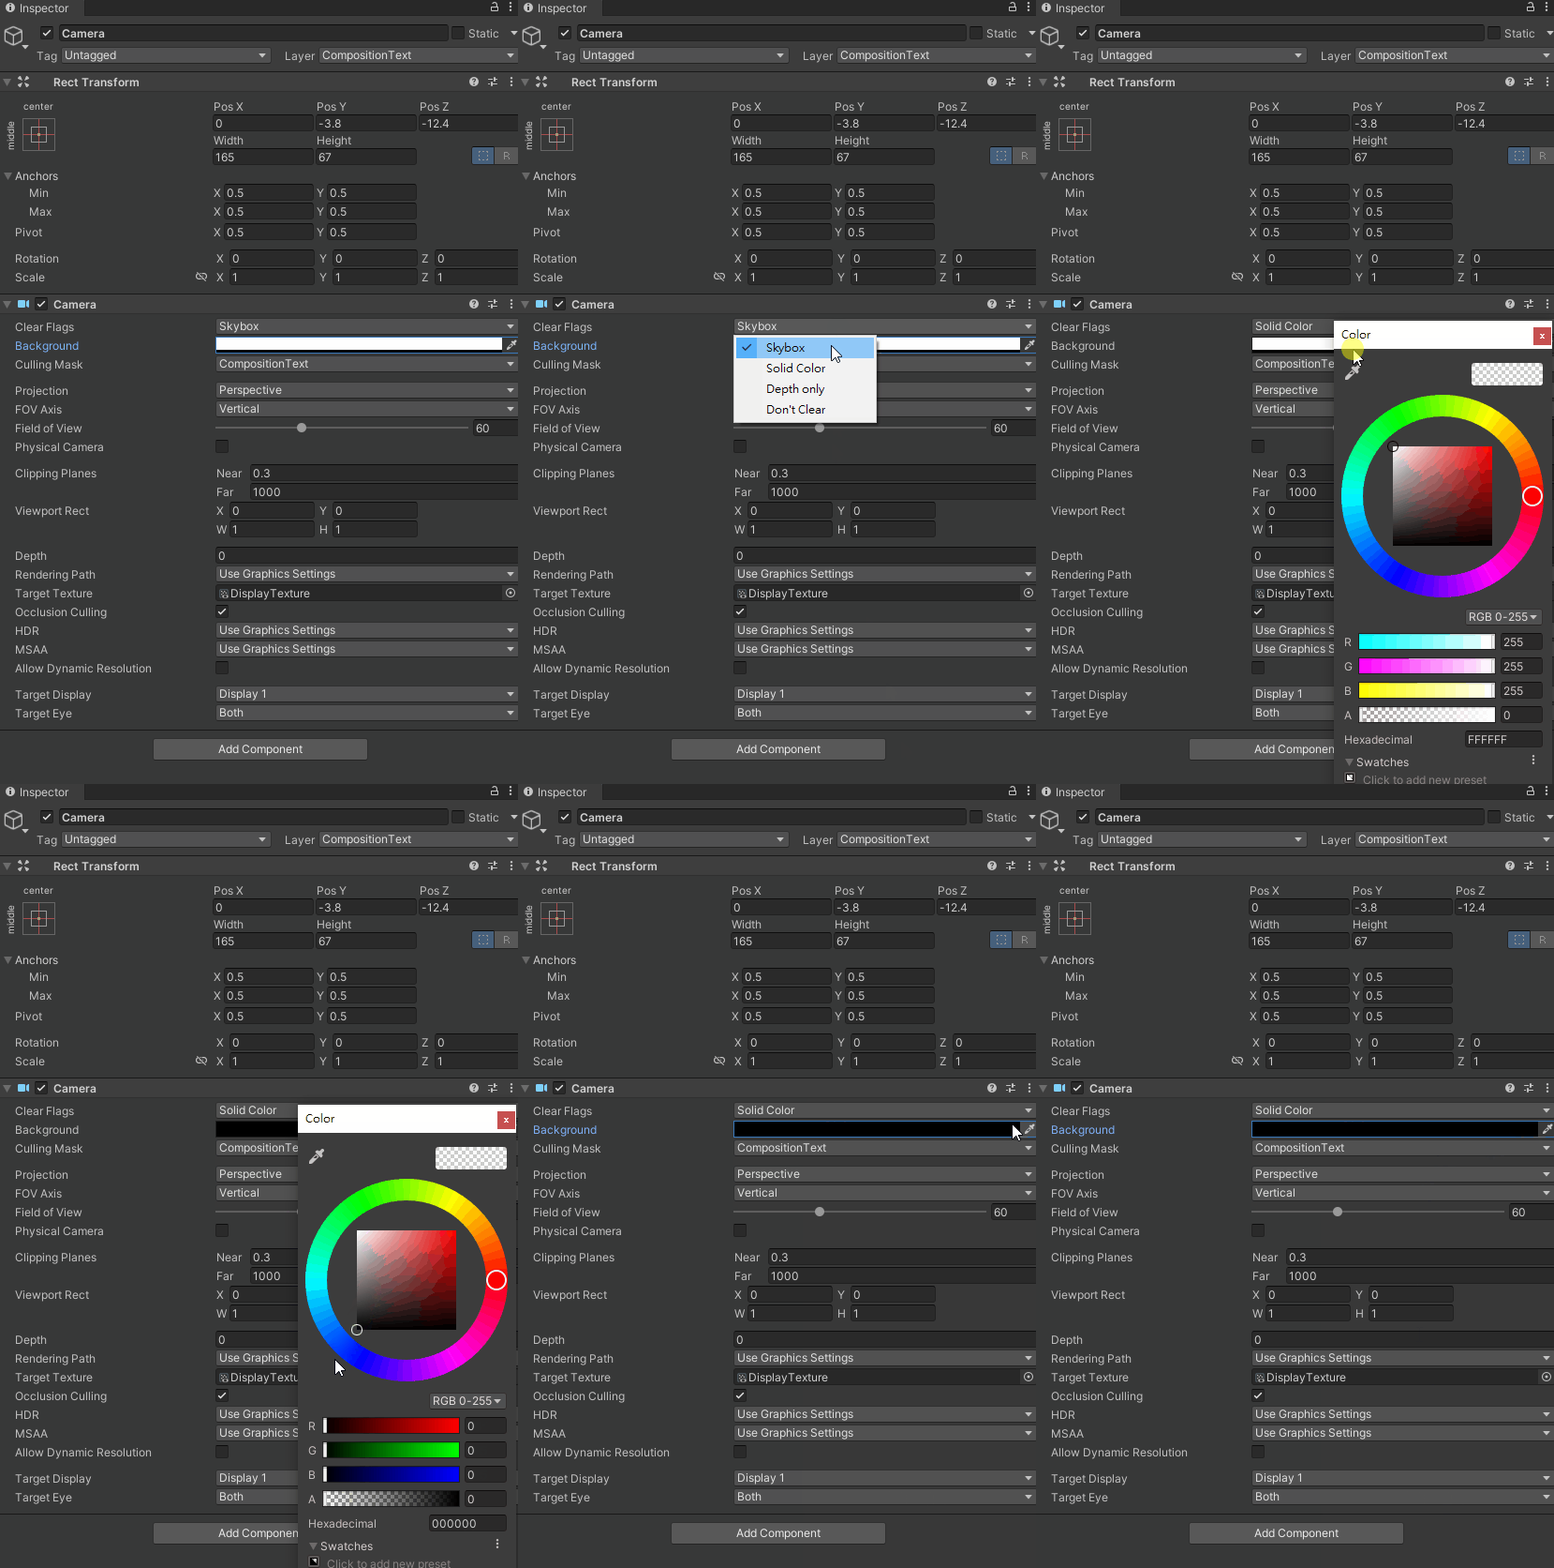
Step 8. Create an empty GameObject and add a Composition Layer component onto it
Create a Gameobject with a Composition Layer component.
Instead of the original canvas, this GameObject will be the one showing the text.
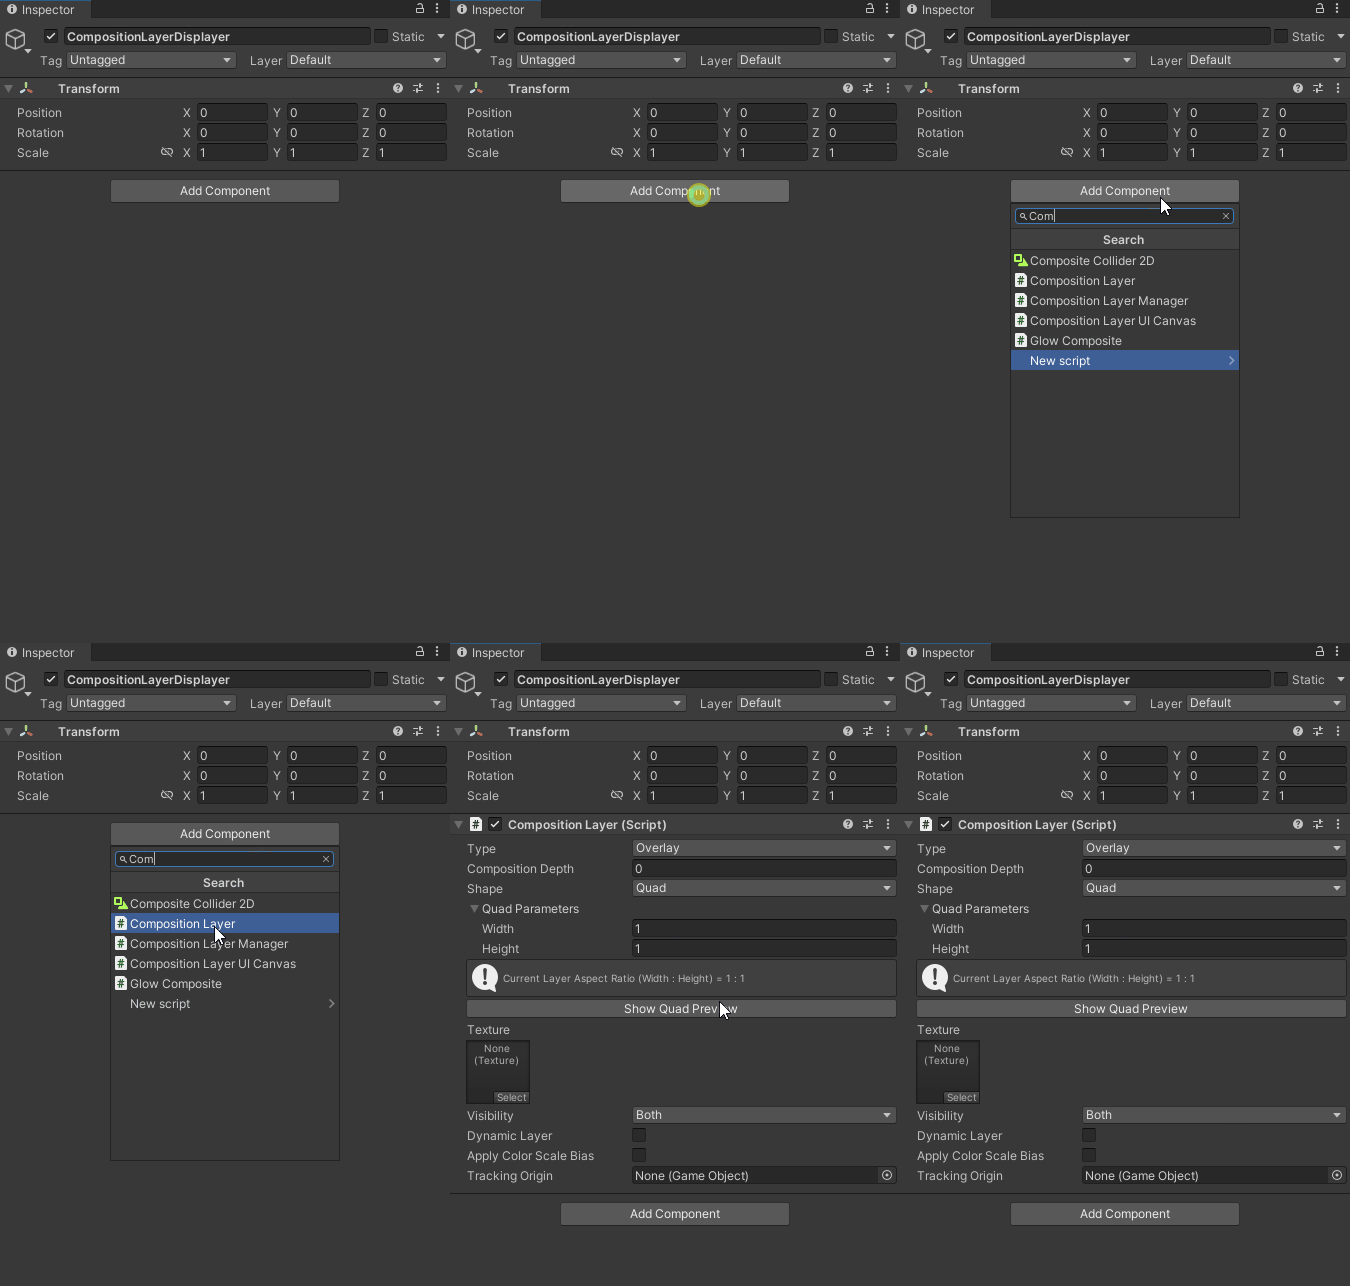
Step 9. Assign the Render Texture to the Composition Layer
Assign the Render Texture to the Composition Layer .
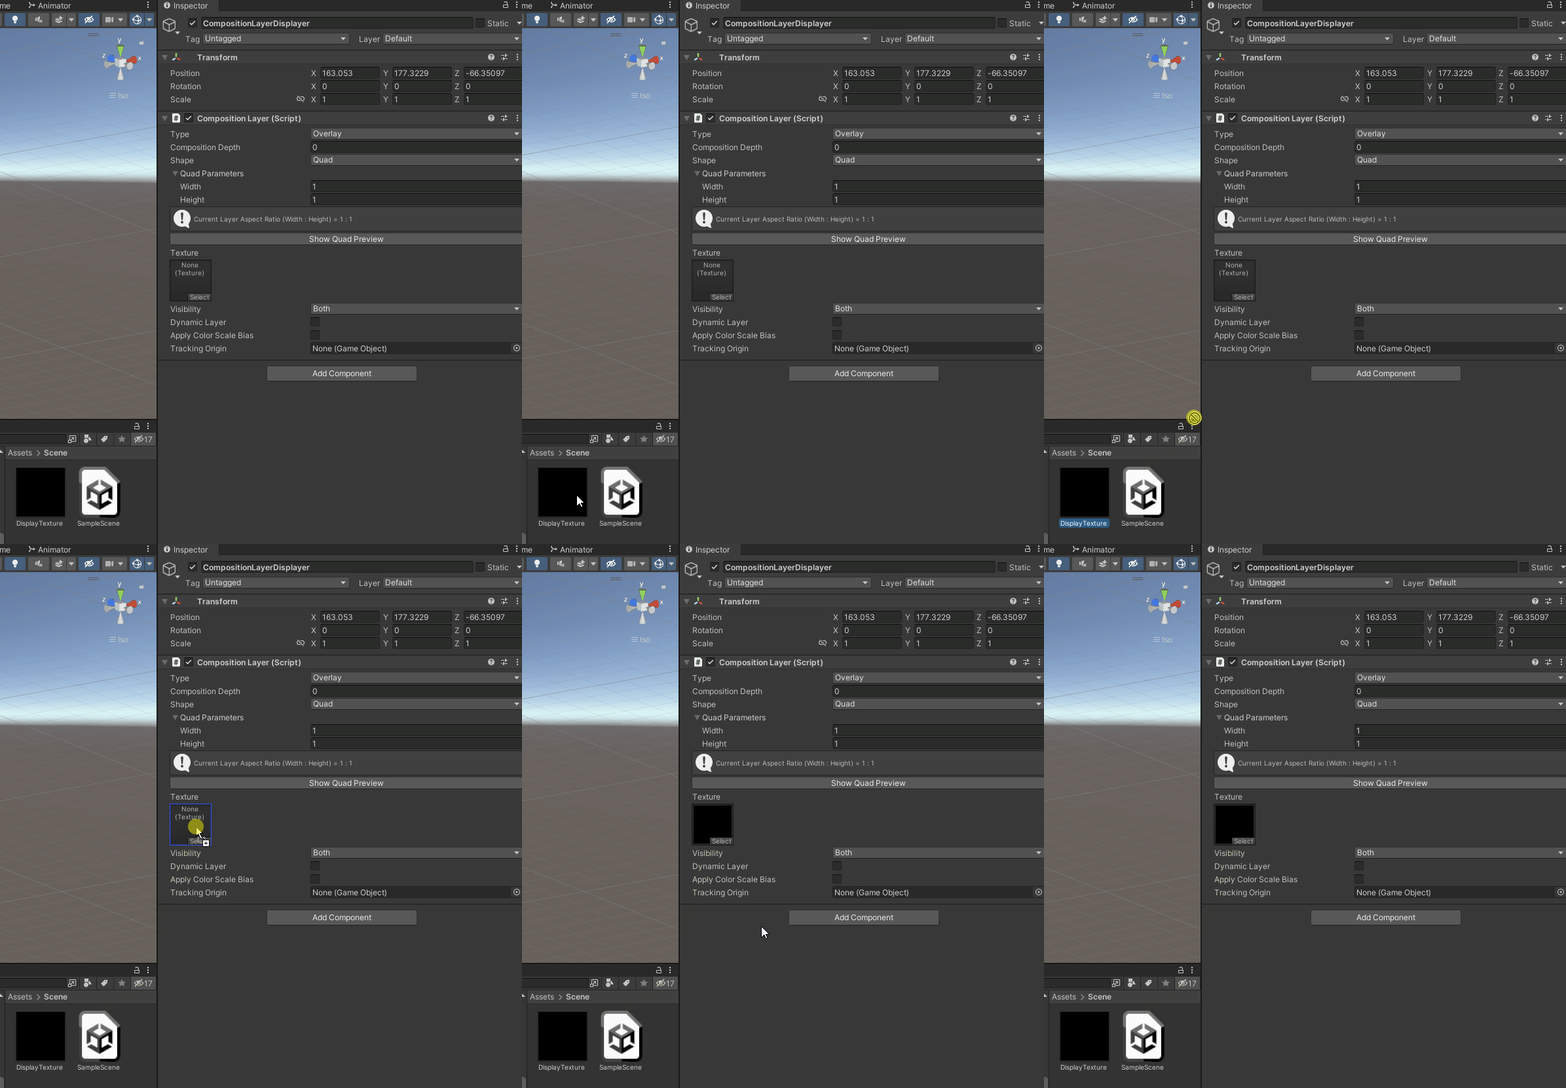
Final Step.
Adjust the position, rotation, size and all other parameters of the Composition Layer according to your needs .
Note:
Remember the world Scale of the Composition Layer GameObject should always be Vector3(1, 1, 1).
If you need to scale the Composition Layer, use the Parameters under Shape (e.g. Width & Height)
