Getting Data from VIVE Tracker (SteamVR)
VIVE OpenXR Unity plugin supports the VIVE Tracker. By following this guide, you can retrieve the tracking data of VIVE Tracker connected to SteamVR within the XR_HTCX_vive_tracker_interaction extension.
Supported Platforms and Devices
| Platform | Headset | Supported | |
| PC | PC Streaming | Focus 3/XR Elite/Focus Vision | V |
| Pure PC | Vive Cosmos | V | |
| Vive Pro series | V | ||
| AIO | Focus 3/XR Elite/Focus Vision | X | |
Specification
This chapter will explore how to create more immersive experiences using the VIVE Tracker feature within the XR_HTCX_vive_tracker_interaction extension.
Assign a role to your VIVE Tracker
-
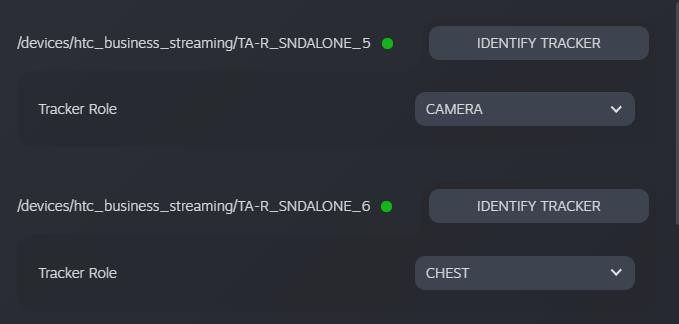
After your Vive Tracker is connected to SteamVR, right click on the tracker and select Manage Trackers.

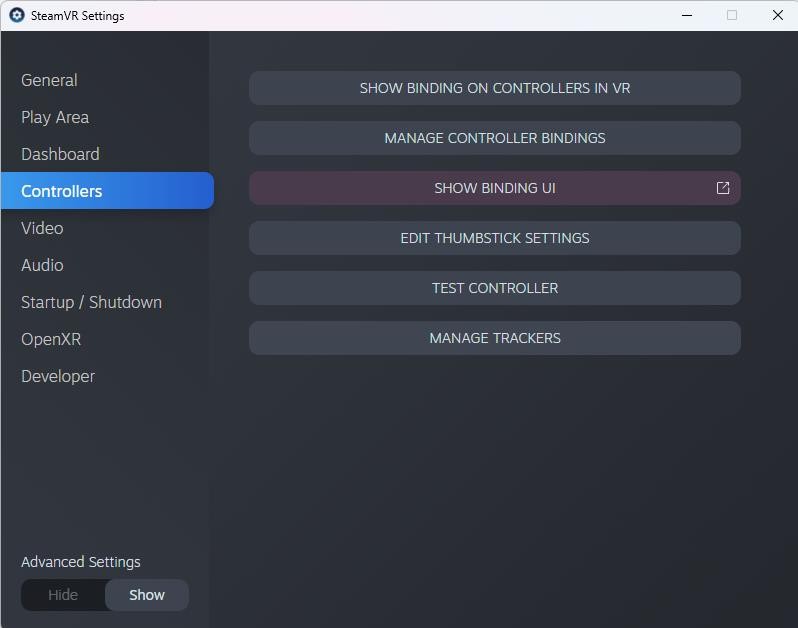
-
Select your desired Tracker Role. For this tutorial we chose Camera and Chest as we have two trackers connected.
Environment Settings
In the following, let’s see how to use this VIVE Tracker profile. You can check overall VIVE Tracker data defined in the Input Device HTC Vive Tracker (OpenXR) from menu item Window > Analysis > Input Debugger.
![]()
To use the VIVE Tracker, simply add the HTC VIVE Tracker Profile in Edit > Project Setting > XR Plug-In Management > OpenXR.
![]()
Golden Sample
Binding the VIVE Tracker data path
Note : We have already created Action Maps for Vive Tracker.(Assets > Samples > VIVE OpenXR Plugin > {version} > VIVE OpenXR Samples > Samples > Commons > ActionMap.)
Add an action map to your existing Input Action. For this tutorial we will call it Ultimate Tracker.
Add Actions for each tracker. Here we are setting up the action map with actions for two trackers, but you can change it depending on how many trackers you are using.
- Create two new actions and name them as you see fit UltimateTracker1_Position, UltimateTracker1_Rotation.
- Bind the UltimateTracker1_Position action to devicePosition Camera XRViveTracker.
- Bind the UltimateTracker1_Rotation action to deviceRotation Camera XRViveTracker.
Note: You will need to bind your tracker based on the tracker role that you set from SteamVR.
Repeat the above to add additional trackers.
1. Create a Cube in your scene and add a Tracker Pose Driver (Input System) component. Set the Position and Rotation Input from your Action Map. (You can create more cubes if you have more trackers)
2. Build your application or simply test from the editor by pressing on the play button. The cube should be moving based on the tracker position and rotation.
See Also
If you aren’t familiar with how to use action maps, please refer to the basic input.