XR Interaction Toolkit - Basic Input for OpenXR for Mobile
What will you learn?
You will learn how to setup a project that utilizes the
XR Interaction Toolkit
to create immersive content that runs on
Android
devices such as
VIVE Focus 3
.
Note:
In this tutorial we will use
Unity 2021.3.9f1
and
Vive Focus 3.
What is the XR Interaction Toolkit?
The XR Interaction Toolkit package is a high-level, component-based, interaction system for creating VR and AR experiences. It provides a framework that makes 3D and UI interactions available from Unity input events.
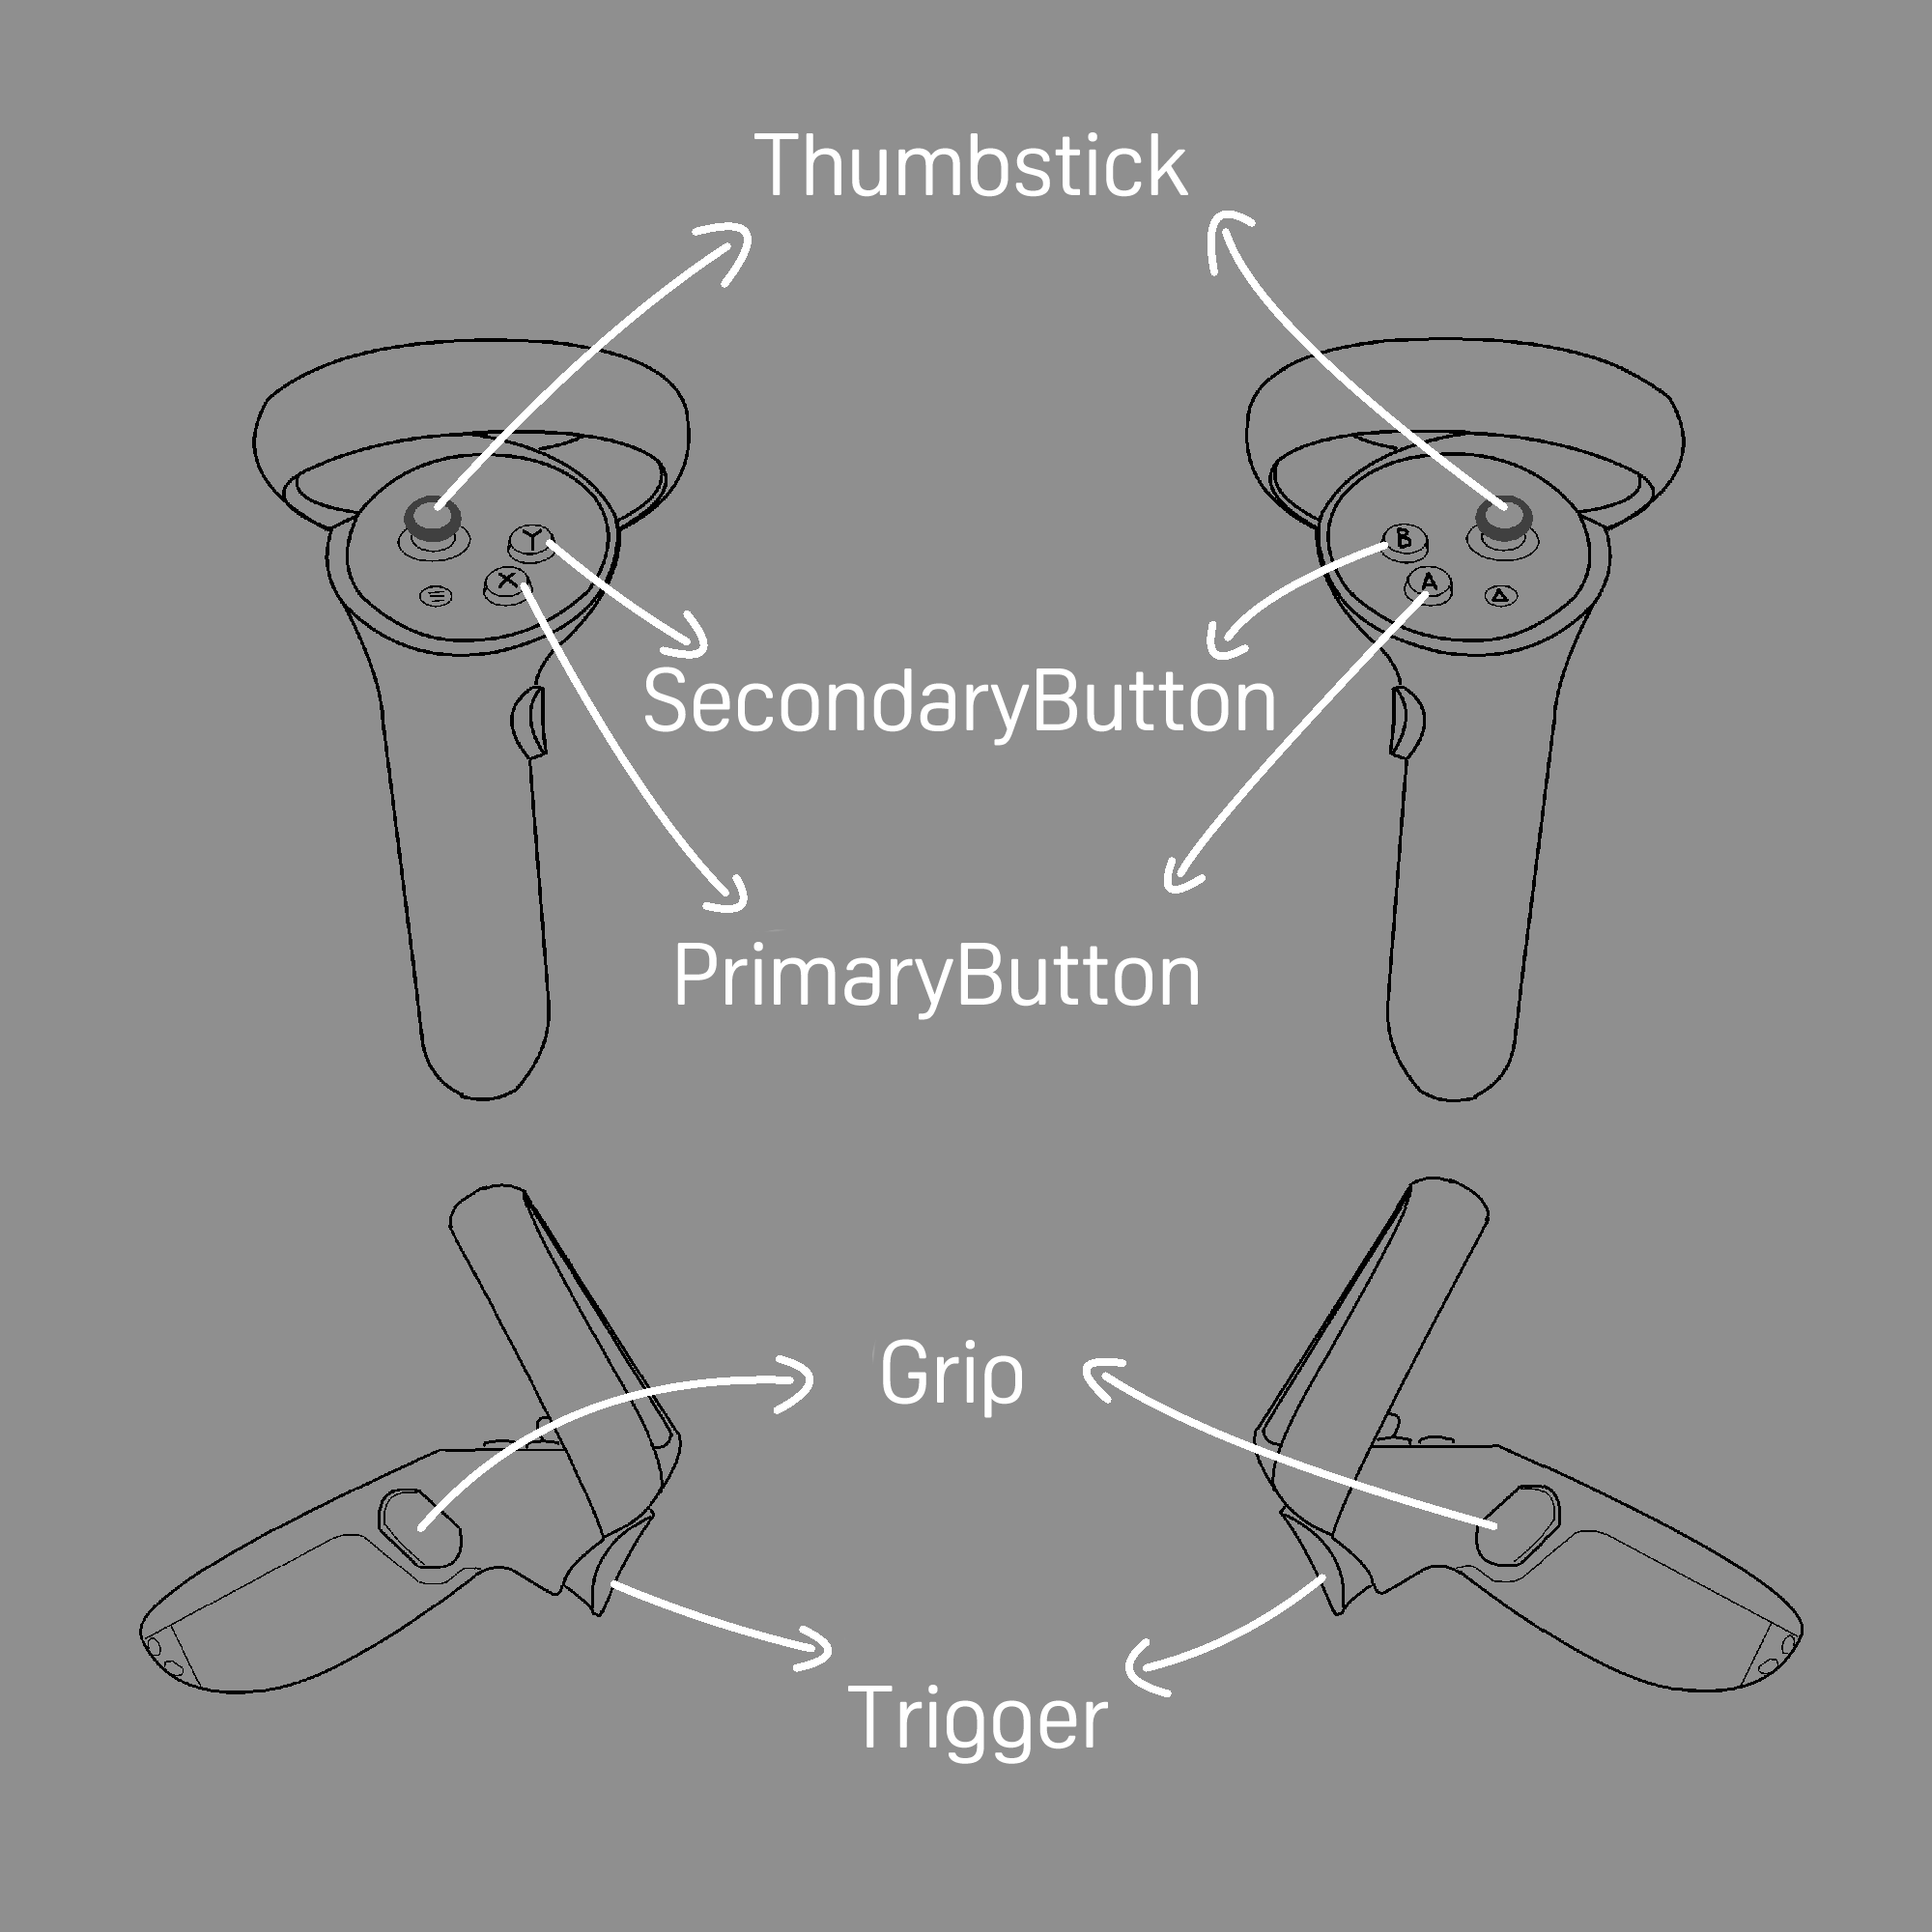
Names of Inputs on Controllers
Setup Project
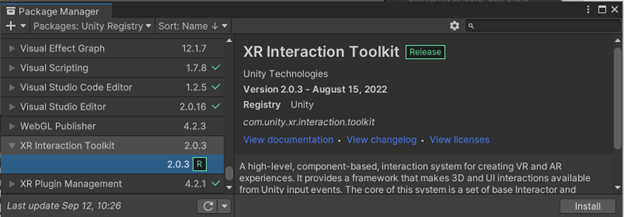
- From menu: Window-> Package Manager. Install XR Interaction Toolkit. If you run into issues with the installation, you can reference Unity's documentation on installing the XR Interaction Toolkit. Link
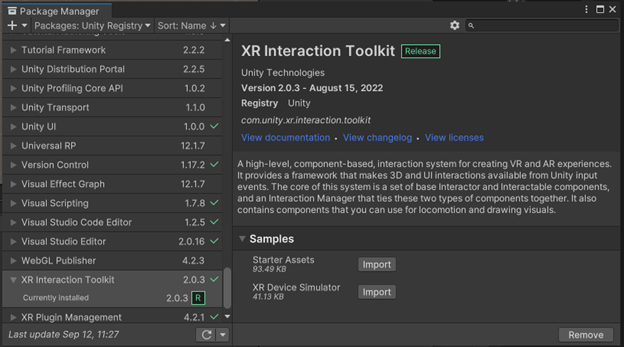
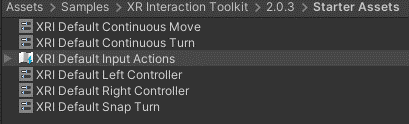
- Under the XR Interaction Toolkit , select the Samples dropdown and Import the Starter Assets.
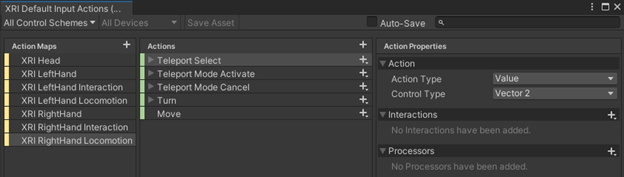
- Locate the XRI Default Input Actions asset under the Starter Assets directory and open it. Here, you can edit Actions and map to different controller inputs.
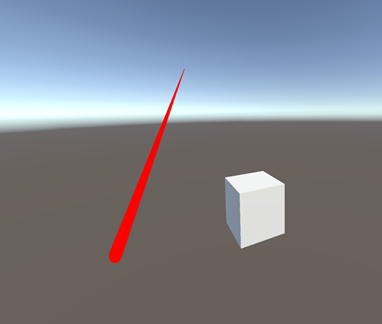
Create a test scene
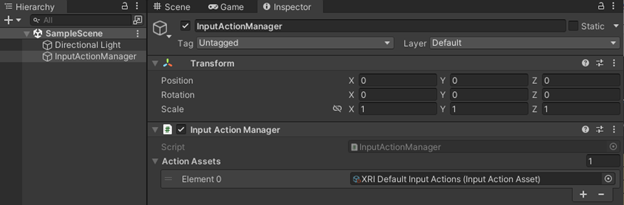
- Right-click in the Hierarchy window and create a new gameobject. Rename gameobject to InputActionManager.
- Add the InputActionManager script to the InputActionManager gameobject
- Add the XRI Default Input Actions asset to the Action Assets list on the InputActionManager script.
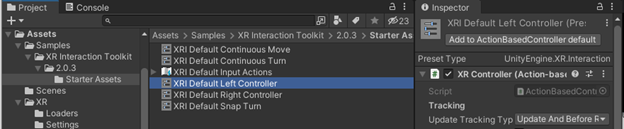
- Find the XRI Default Left Controller in the Project window, click the Add to ActionBasedController default button in the Inspector.
- Find the XRI Default Right Controller in the Project window, click the Add to ActionBasedController default button in the Inspector.

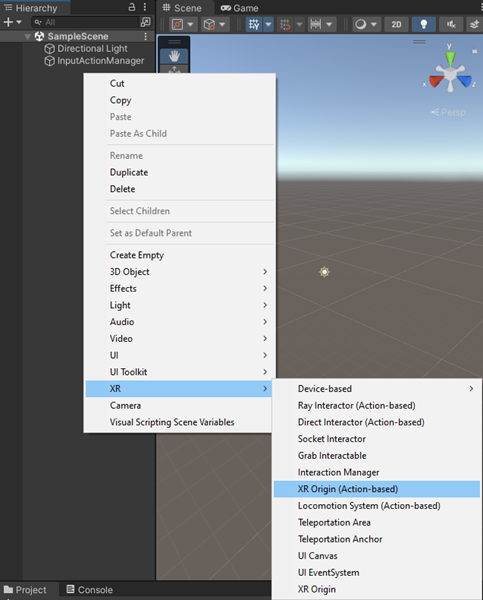
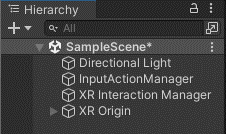
- Right-Click in the Hierarchy window and select XR-> XR Origin.
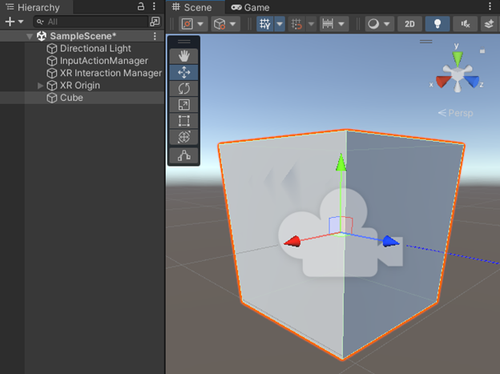
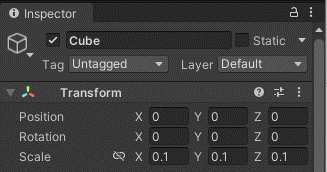
- Right-click in the Hierarchy window and select 3D Object -> Cube. Update the Scale of the cube to 0.1 for X, Y and Z in the Inspector window.
- Right-click in the Project window and select Create-> C# Script. Rename the script to ChangePosition.

- Update the ChangePosition script with the code snippet below and add the ChangePosition script to the Cube object. This script will change the position of an object based on the position of the right hand controller.
using UnityEngine;
using UnityEngine.InputSystem;

public class ChangePosition : MonoBehaviour
{
    [SerializeField] private InputActionReference RightControllerPosition;

    void Update()
    {
        Vector3 controllerPosition = RightControllerPosition.action.ReadValue<Vector3>();
        transform.position = controllerPosition;
    }
}
- Update the Right Controller Position reference on the ChangePosition script to XRI RightHand/Position (Input Action Reference).

- Confirm that the cube’s position is moving based on the right hand controller’s movement.