Using Foveation in Your App
⚠ NOTICE |
|
This legacy plugin is no longer being updated and maintained, please develop mobile content with OpenXR 2-in-1 Unity / Unreal package . |
The Foveation feature enables an application to gain rendering performance improvement by reducing the pixel density of areas in the peripheral vision. The areas near the focal point still sustains the original pixel density than periphery. This article shows how to enable, disable, and customize the foveation in your app.
Step 1. Check your VIVE OpenXR Plugin version

In Window > Package Manager, make sure your VIVE OpenXR Plugin - Android is 1.0.4 or newer.
Step 2. Enable the Foveation feature
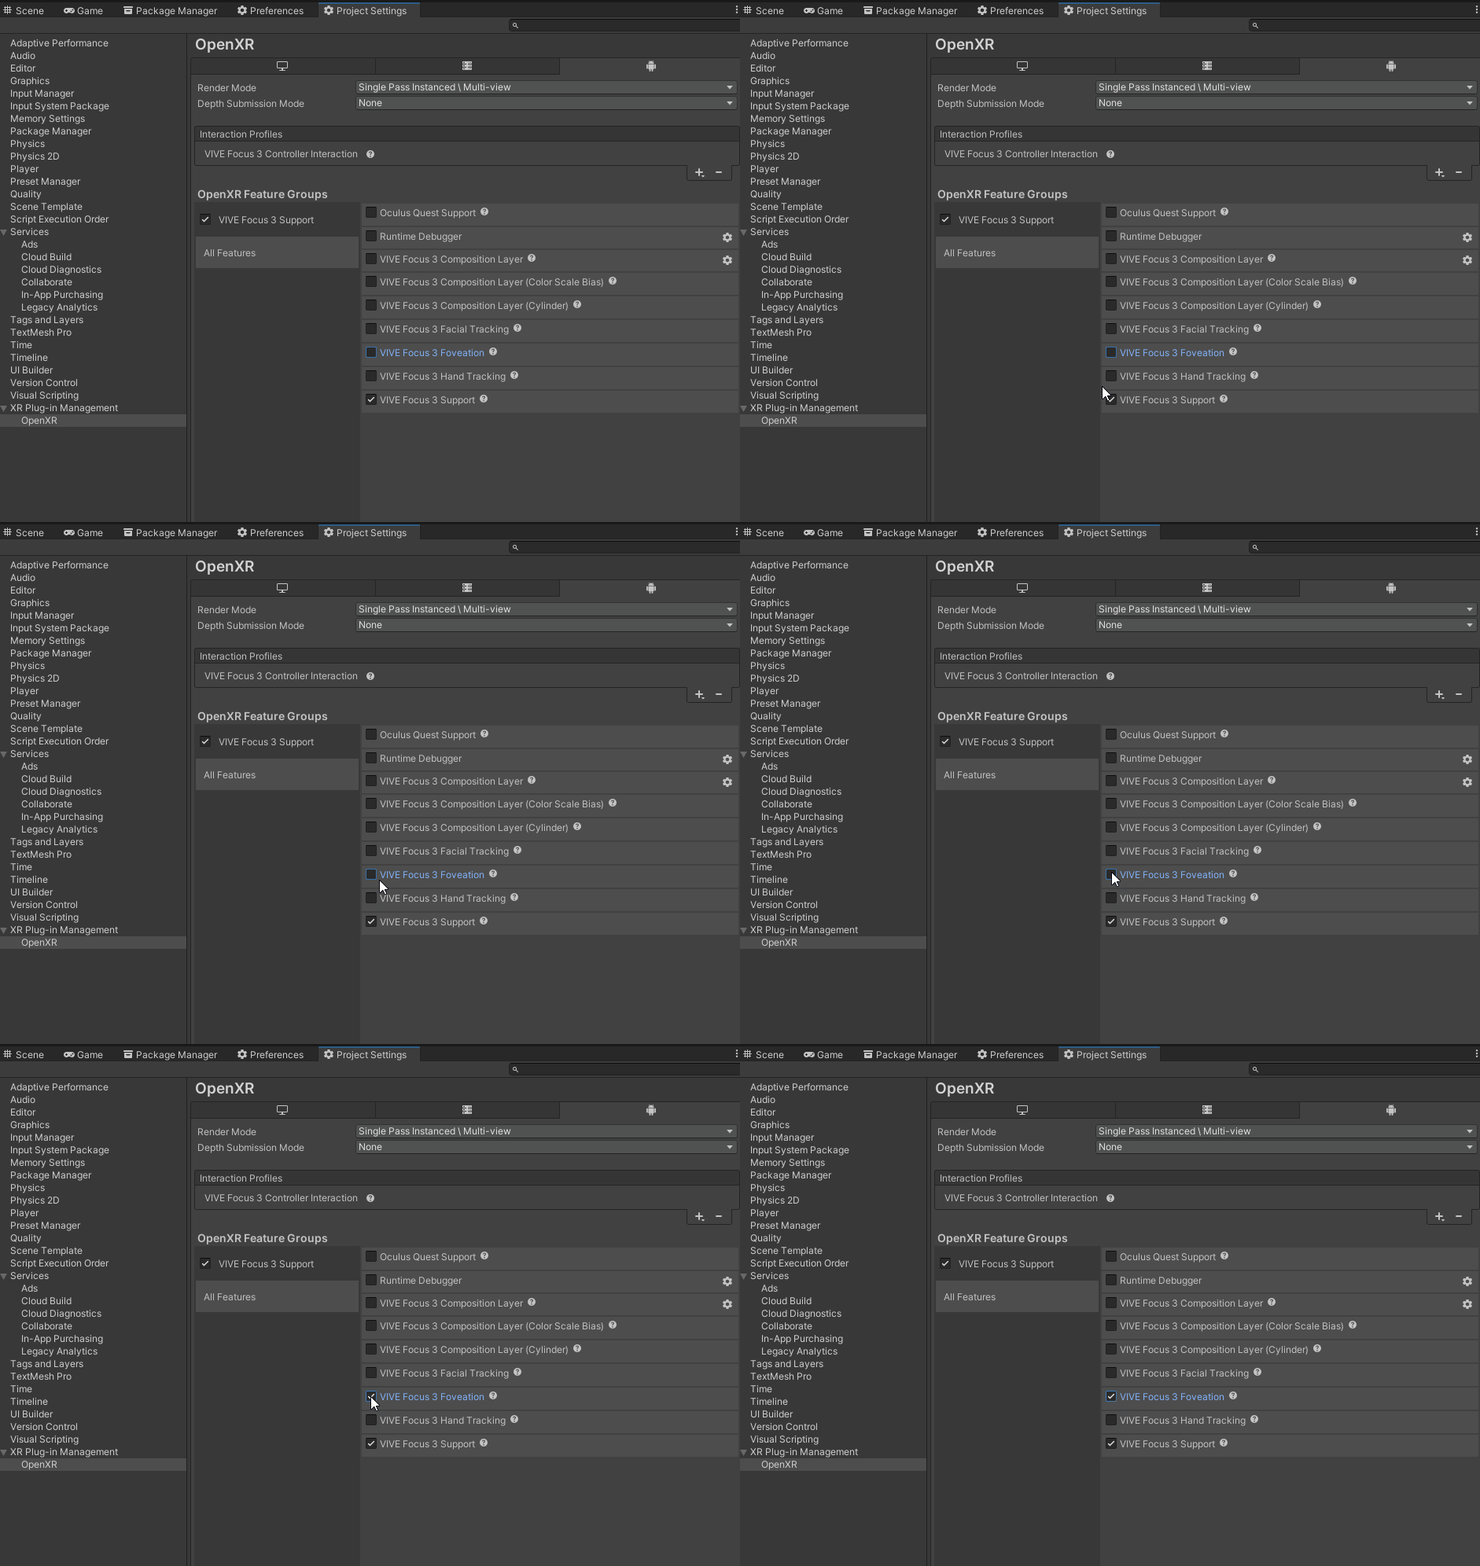
In Edit > Project Settings > XR Plug-in Management > OpenXR, enable the VIVE Focus3 Foveation feature.

Step 3. Create a script and attach it onto any GameObject in the scene.
In the script, first add a using namespace.
using Wave.OpenXR;
Declare a XrFoveationModeHTC named UsingMode.
[SerializeField] XrFoveationModeHTC UsingMode;
The type of foveation creates in your app will depend on UsingMode. There are three type modes, Fixed, Dynamic, and Custom. The Fixed mode means the clear field of view will always be in the center of both eyes. On the contrary, when using the Dynamic mode, the clear field of view will follow the player's eyes, if eye gaze is enable. Finally, the Custom mode let you set the foveation yourself, including the position of clear field of view, the clearity, and the size of clear field of view.
Note: Currently, dynamic is not yet supported
Then, declare an array of XrFoveationConfigurationHTC with size of two.
XrFoveationConfigurationHTC[] Configs = new XrFoveationConfigurationHTC[2];
Configs is used to store the setting of the foveation when using Custum mode.
In Start, set the configuration and use ApplyFoveationHTC() to enable the foveation.
void Start()
{
    /////////////////////Setting for left eye/////////////////////////////
    Configs[0].level = XrFoveationLevelHTC.XR_FOVEATION_LEVEL_HIGH_HTC; //
    Configs[0].clearFovDegree = 0;                                      //
    Configs[0].focalCenterOffset.x = 0.0f;                              //
    Configs[0].focalCenterOffset.y = 0.0f;                              //
    //////////////////////////////////////////////////////////////////////

    ////////////////////Setting for right eye/////////////////////////////
    Configs[1].level = XrFoveationLevelHTC.XR_FOVEATION_LEVEL_HIGH_HTC; //
    Configs[1].clearFovDegree = 0;                                      //
    Configs[1].focalCenterOffset.x = 0.0f;                              //
    Configs[1].focalCenterOffset.y = 0.0f;                              //
    //////////////////////////////////////////////////////////////////////

    switch (UsingMode)
    {
        //XR_FOVEATION_MODE_FIXED_HTC: The position of foveation is fixed
        case XrFoveationModeHTC.XR_FOVEATION_MODE_FIXED_HTC:
            ViveFoveation.ApplyFoveationHTC(XrFoveationModeHTC.XR_FOVEATION_MODE_FIXED_HTC, 0, null);
            break;
        //XR_FOVEATION_MODE_DYNAMIC_HTC: the position of foveation can be addjust
        case XrFoveationModeHTC.XR_FOVEATION_MODE_DYNAMIC_HTC:
            ViveFoveation.ApplyFoveationHTC(XrFoveationModeHTC.XR_FOVEATION_MODE_DYNAMIC_HTC, 0, null);
            break;
        //XR_FOVEATION_MODE_CUSTOM_HTC: the foveation will use the custom setting
        case XrFoveationModeHTC.XR_FOVEATION_MODE_CUSTOM_HTC:
            ViveFoveation.ApplyFoveationHTC(UsingMode, 2, Configs);
            break;
    }
}
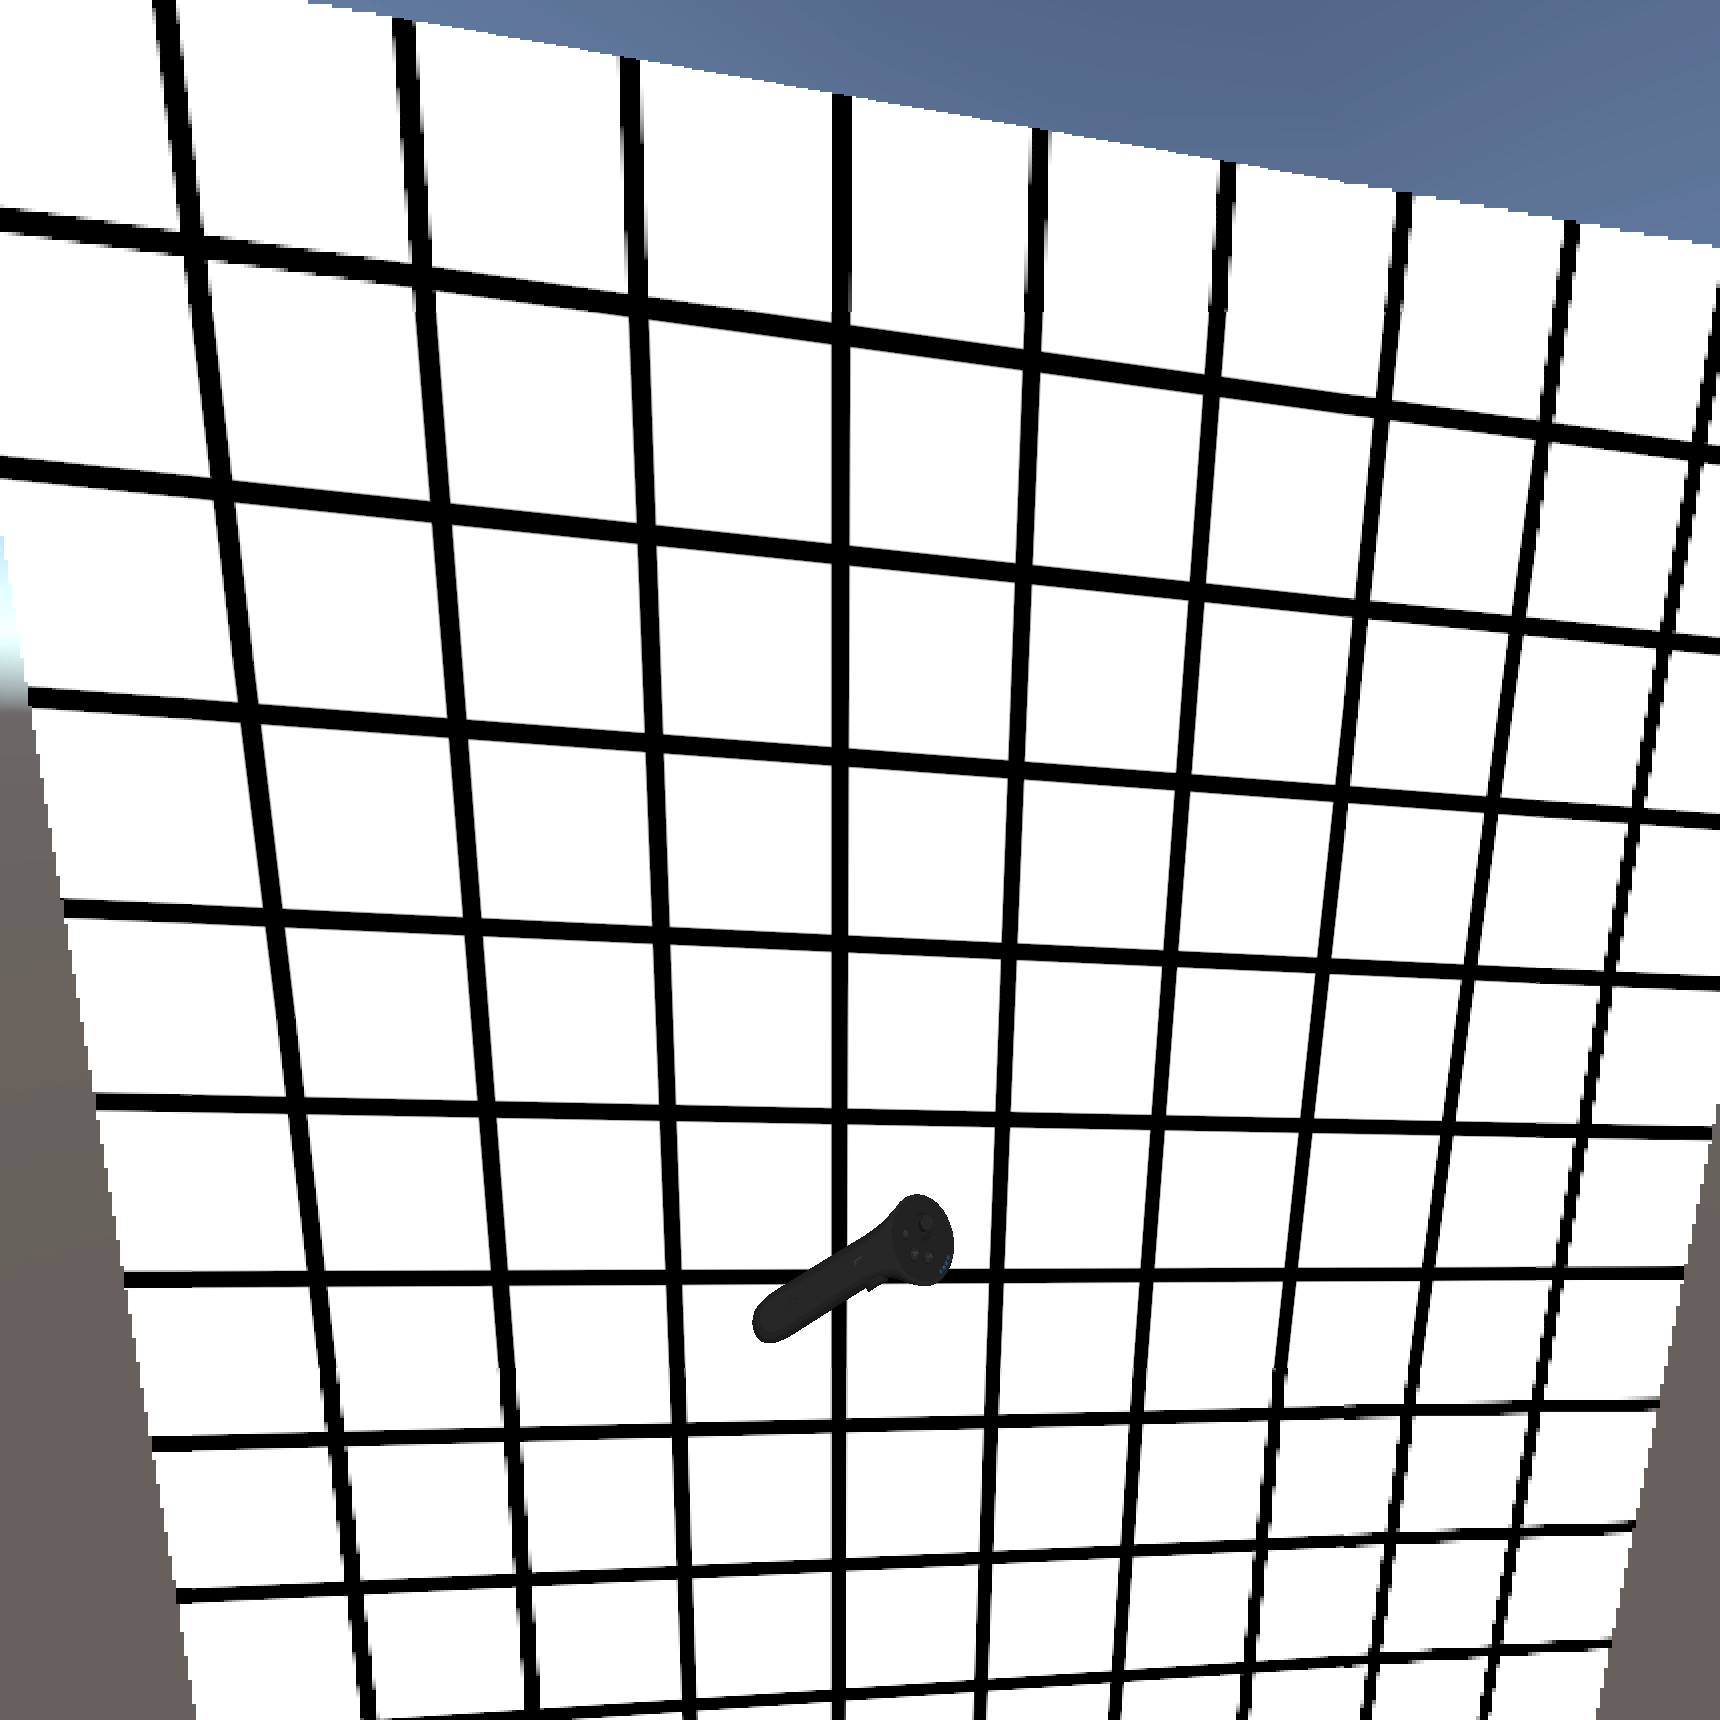
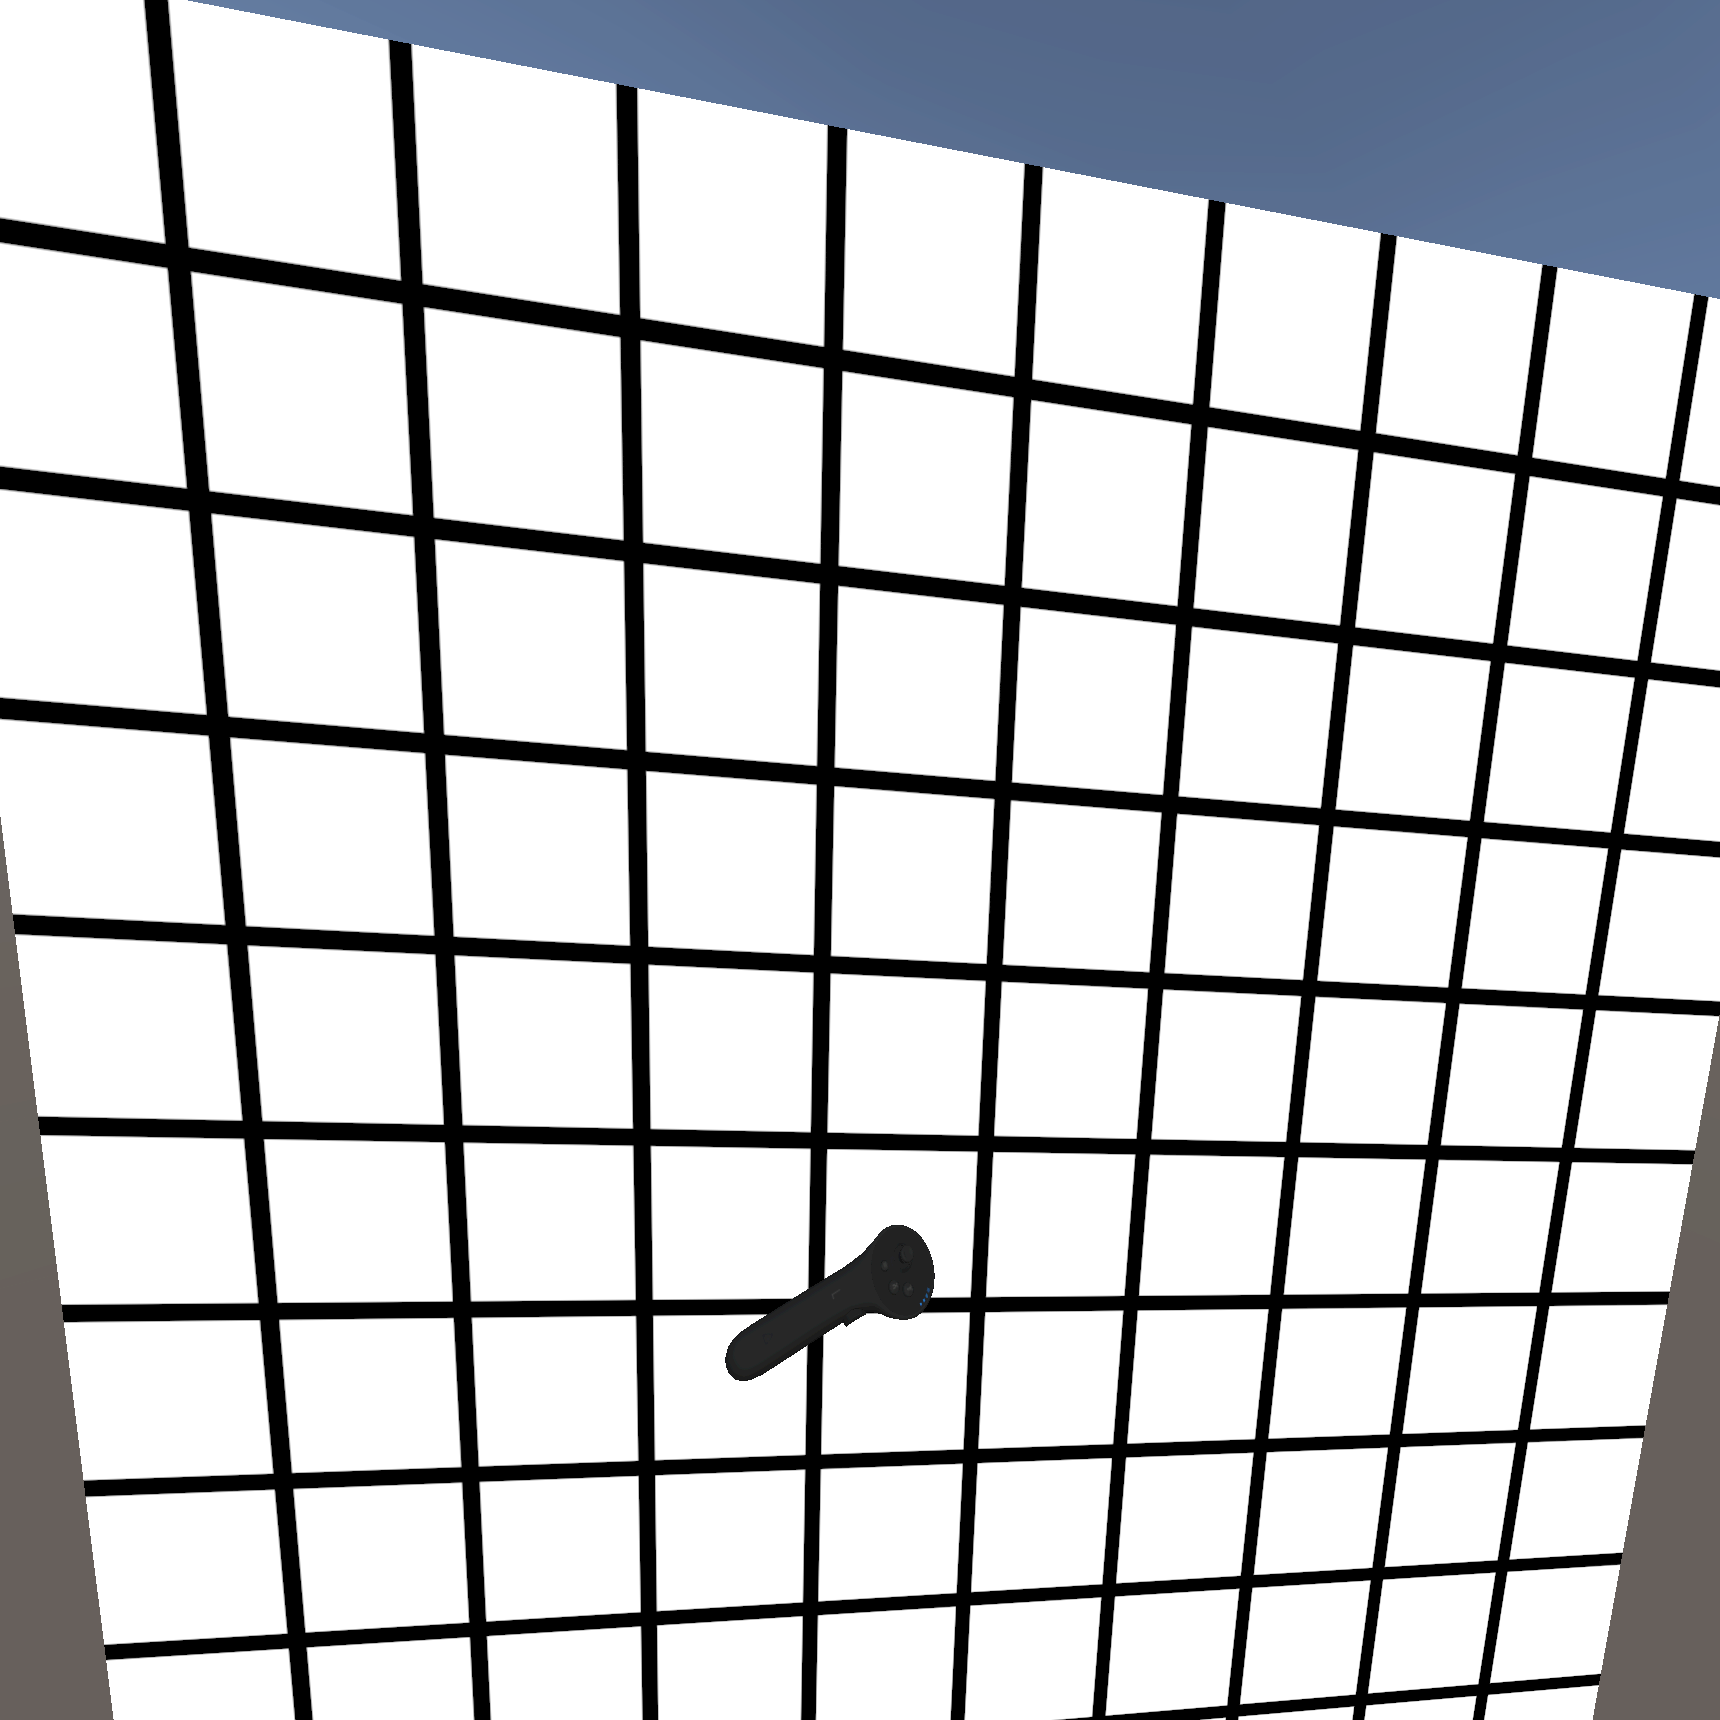
now if you run the app, you will be able to see the foveation.
 (With foveation)
 (Without foveation)
If you want to disable the foveation, execute the following code.
ViveFoveation.ApplyFoveationHTC(XrFoveationModeHTC.XR_FOVEATION_MODE_DISABLE_HTC, 0, null);