[Partial Passthrough] Open a Window to the reality in VR
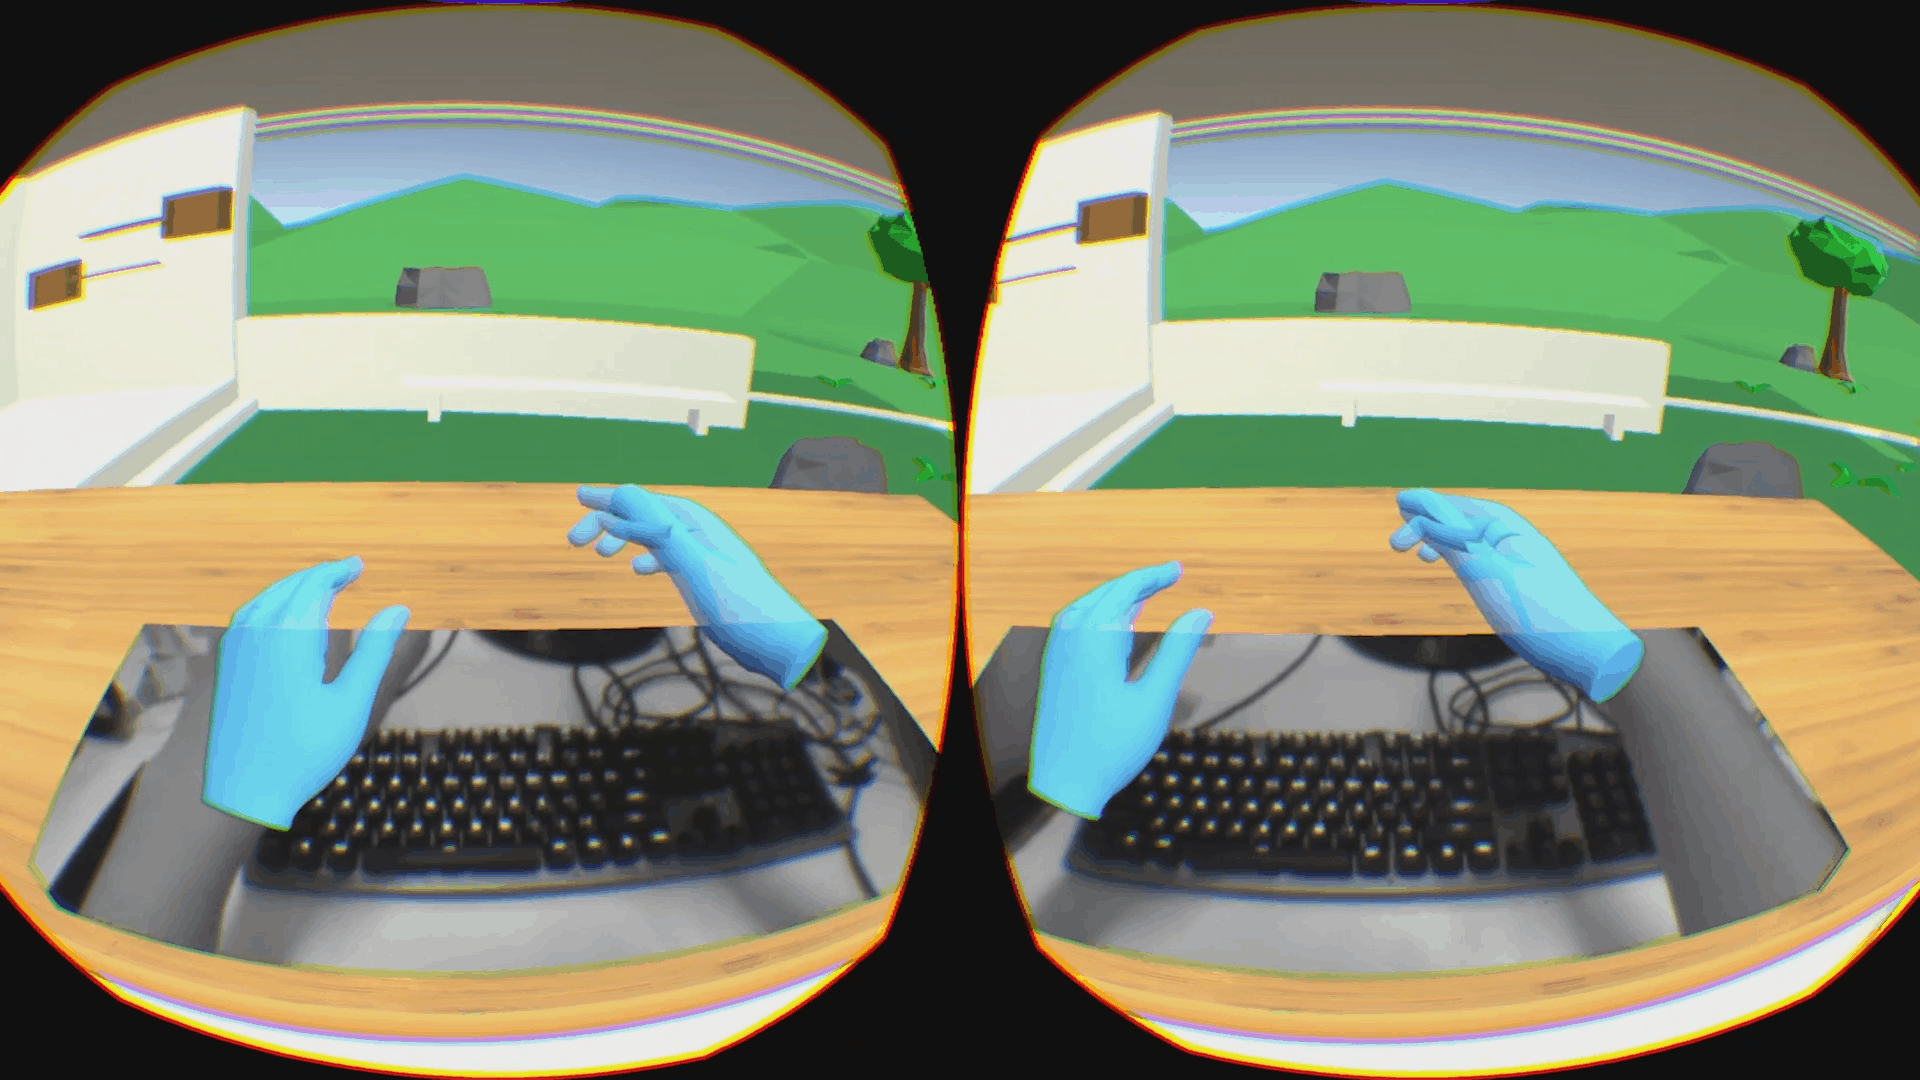
When you are making VR games, have you ever thought how great it would be if you could let the player see a certain item or view of the outside world in the content? For example, maybe you want the player to see the keyboard when they are typing in-game.
In this article, I am going to show you how to open a window to the player’s surroundings in your game.
Note: If you're not familiar with the Passthrough feature, please go check Passthrough
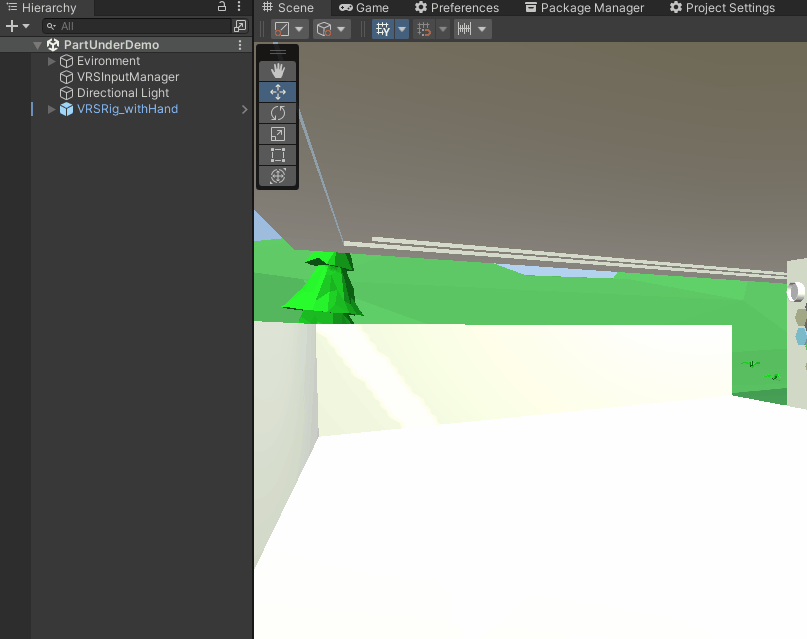
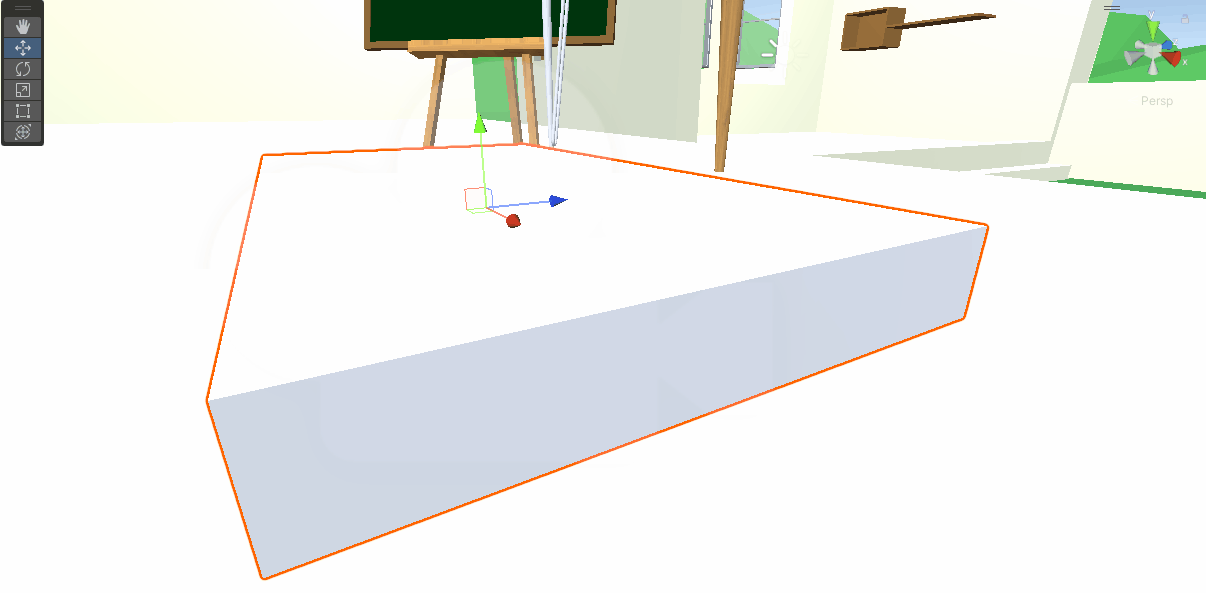
Step 1. In your game, add a GameObject with a mesh
Add a GameObject with a mesh to your scene. The mesh will be the window to the outside world.
Step 2. Create the passthrough
Create a script name CreateProjectedPassthrough.
In the script, add the following namespaces:
using Wave.OpenXR.Toolkit.CompositionLayer.Passthrough;
using Wave.OpenXR.CompositionLayer.Passthrough;
using Wave.OpenXR.CompositionLayer;
Declare variables.
[SerializeField] Mesh UsingMesh;
[SerializeField] Transform Trans;
[SerializeField] Transform Cam;
int ID;
UsingMesh is the mesh for specifying the shape of the projected passthrough we want to create. Trans is the transform of the projected passthrough. Cam is the transform of the camera. ID is a reference to the generated passthrough.
First, we create an underlay projectedpassthrough using
In Start, we first create a underlay projectedpassthrough using CreateProjectedPassthrough.
Note: If you don't know what is a underlay passthrough, please see UnderstandingOverlayandUnderlay
Then, get the indices from UsingMesh, and set them to the passthrough using SetProjectedPassthroughMesh. Finally, set the transform of the passthrough according to Trans and Cam. Note that if your camera is not in the origin of the world, you must give the API the inverse transformation according to Cam.
void Start()
{
        ID = CompositionLayerPassthroughAPI.CreateProjectedPassthrough(LayerType.Underlay);
        int[] indices = new int[UsingMesh.triangles.Length];
        for (int i = 0; i < UsingMesh.triangles.Length; i++)
        {
            indices[i] = UsingMesh.triangles[i];
        }
        CompositionLayerPassthroughAPI.SetProjectedPassthroughMesh(ID, UsingMesh.vertices, UsingMesh.triangles[i]);
        CompositionLayerPassthroughAPI.SetProjectedPassthroughMeshTransform(ID, ProjectedPassthroughSpaceType.Worldlock, Cam.InverseTransformPoint(Trans.position),Quaternion.Inverse(Cam.transform.rotation) * Trans.rotation, Trans.lossyScale);
}
Note: If you wish to move the passthrough dynamically, remember to set the transformation in Update
void Update()
{
    CompositionLayerPassthroughAPI.SetProjectedPassthroughMeshTransform(ID, ProjectedPassthroughSpaceType.Worldlock, Cam.InverseTransformPoint(Trans.position), Quaternion.Inverse(Cam.transform.rotation) * Trans.rotation, Trans.lossyScale);
}
Step 3. Assign the information to the script
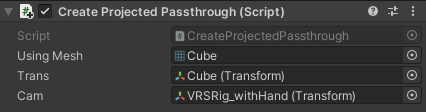
Remember to assign the information the script requires in the inspector. Trans should be assigned to the GameObject we dragged into the scene. UsingMesh should have the mesh used by the GameObject. Cam should be the transform of the the root of the camera rig in world space.
Step 4. Create a Material
As I mentioned in [UnderstandingOverlayandUnderlay], an underlay passthrough can not be seen unless there is a hole in the content layer. So, in order to create a hole, we are going to create a material from a special shader.
First, create a new unlit shader.

In the fragment part of the shader, return a color of all 0.
fixed4 frag (v2f i) : SV_Target
{
    fixed4 col;
    col.r = 0;
    col.g = 0;
    col.b = 0;
    col.a = 0;
    return col;
}
Finally, create a material using the shader.
Step 5. Give the material to the GameObject
Now when you run the game, you will be able to see the real world through the GameObject.